Register New Company
When entering the details for filing a new case, if the company is not listed in the dropdown, the user can register a new company in the application. After registering the company, it will appear in the dropdown in the File a New Case form.
The Register New Company function is visible only to the Records Division. Other divisions will not be able to register a new company. The registered company will have to be Accepted or Rejected by the Records Division. Once accepted, it will be listed in the All Companies queue, which is available to all divisions.
Divisions and Roles Authorized to Register a New Company
| Division | Eligible Roles | Function in Company Registration |
|---|---|---|
| Records Division | Records Staff, Records Supervisor | Can register a new company, accept or reject a newly created company, and change the status of the company. |
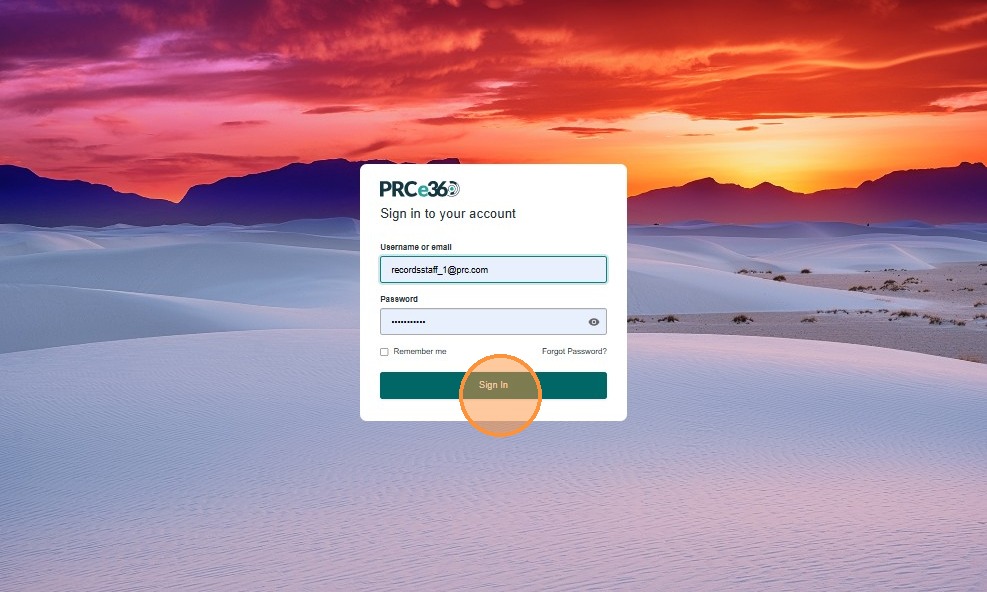
- Sign In
- Enter the login credentials.
- Click on Sign In.

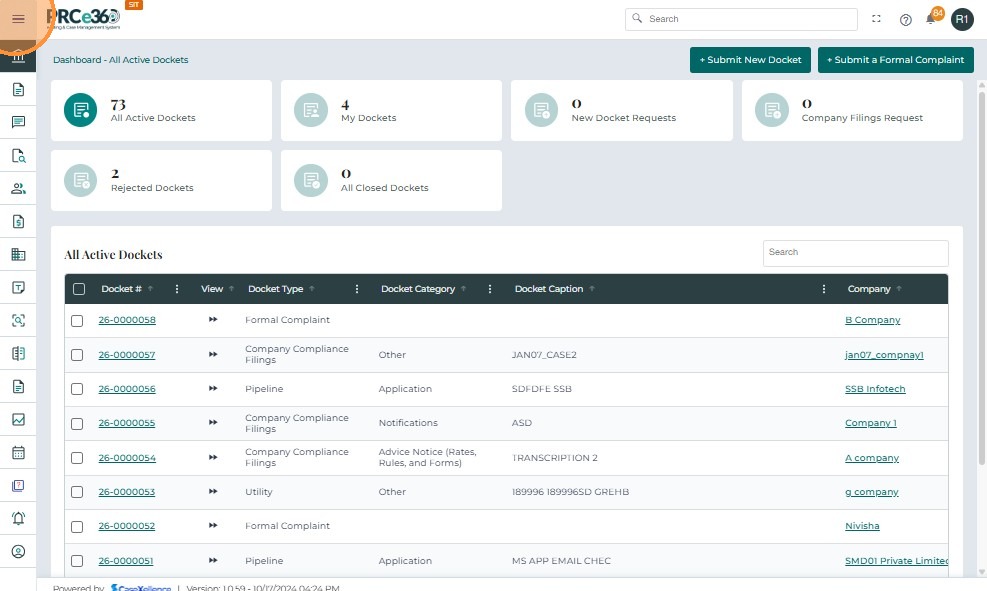
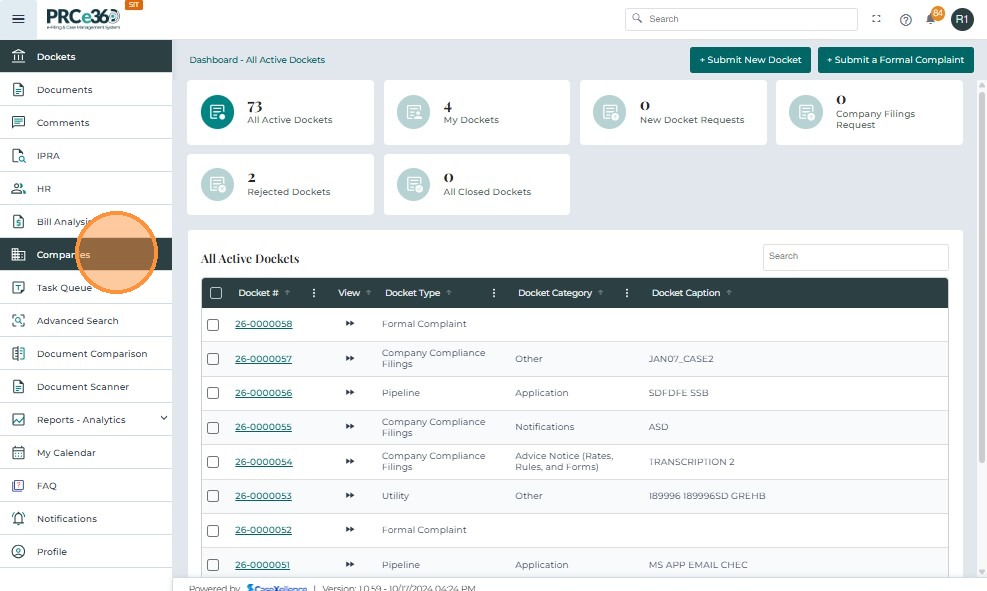
Navigate to Companies Dashboard
- The side menu will show the dashboards.
- Click on the Companies tab to navigate to the Companies dashboard.
- To learn more about the dashboard and its details, see Dashboard Overview.
Register New Company
- Click the + Register New Company button on the top right.
- This is visible only for the Records Division.
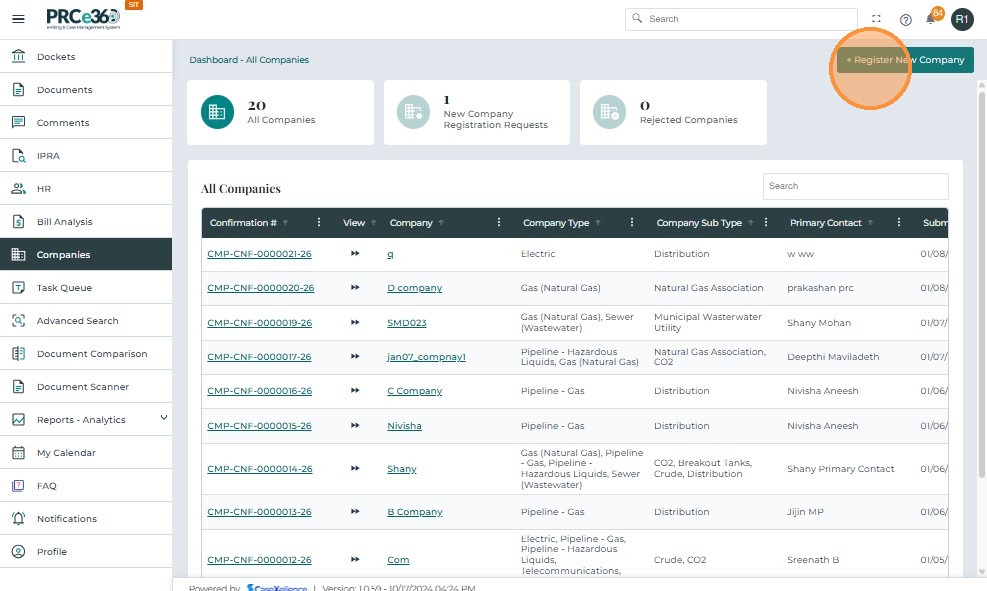
- A form will appear to enter the details of the company.
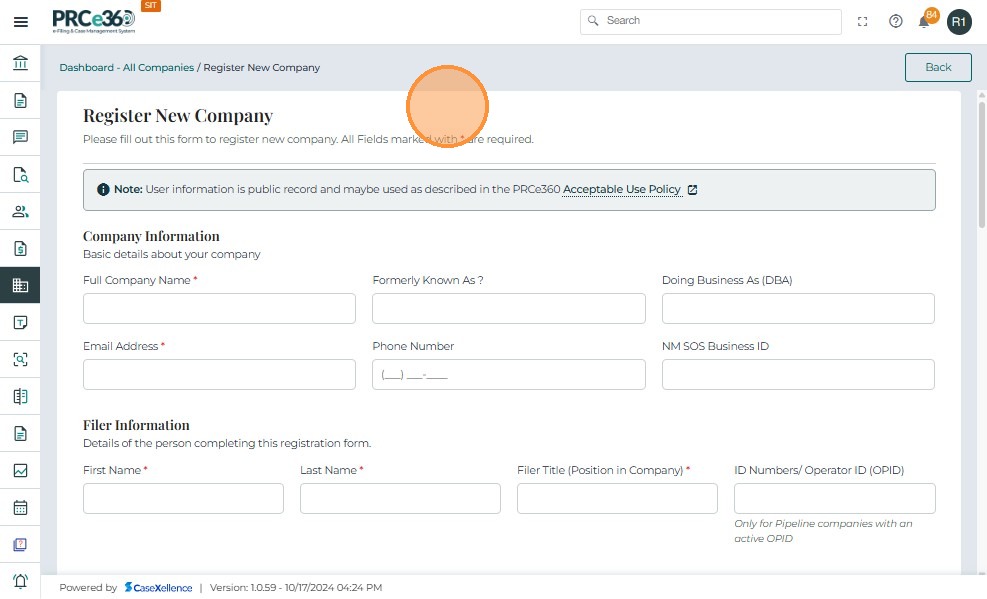
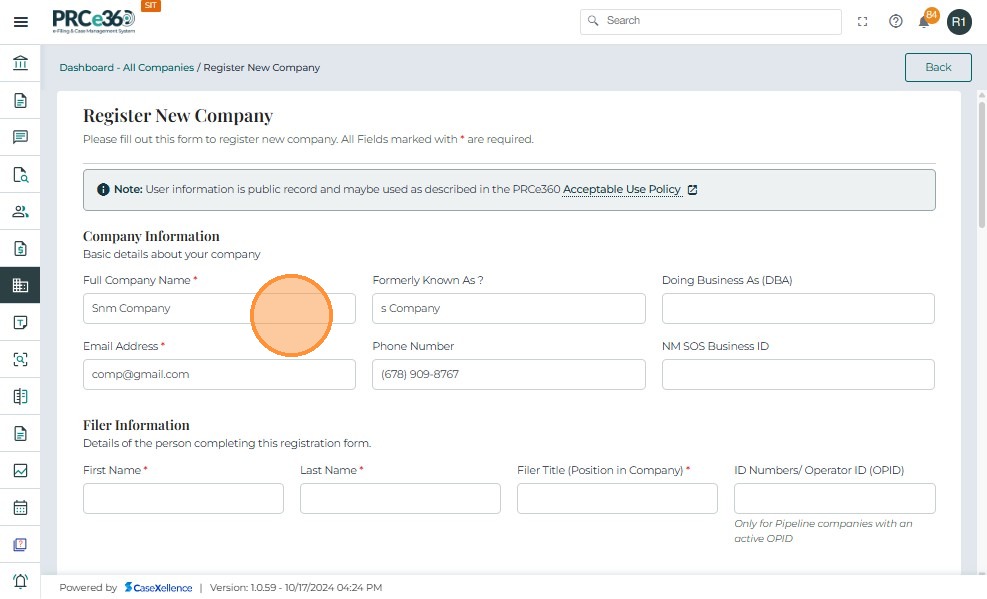
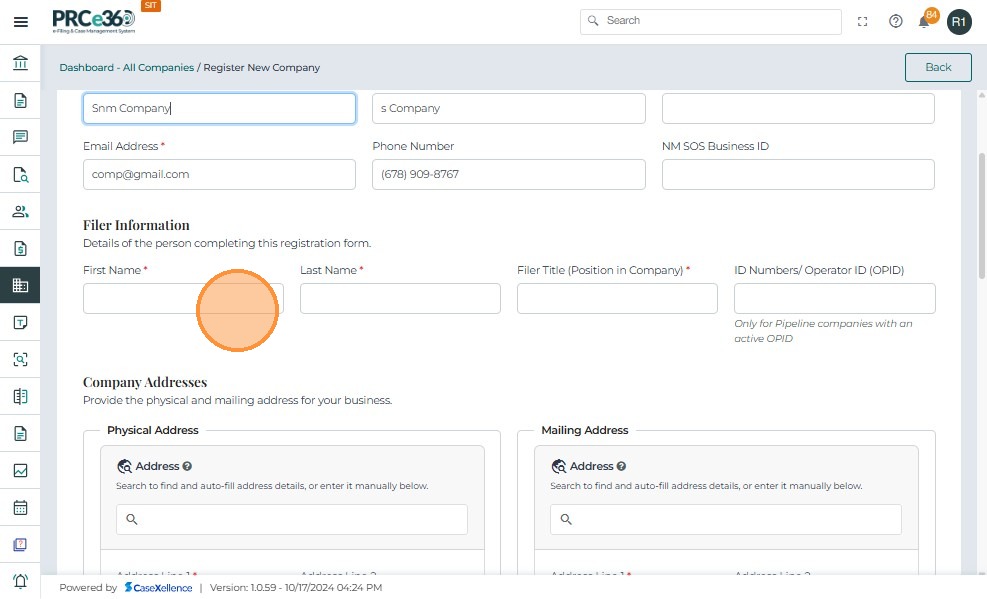
- Company Information
- Enter the required details to register a new company.
- Enter relevant company details.
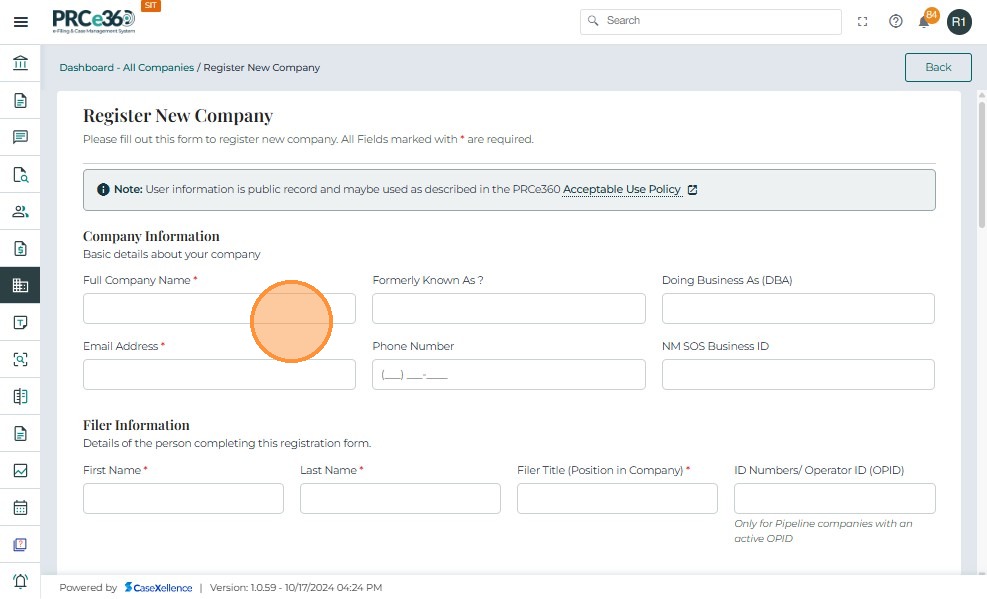
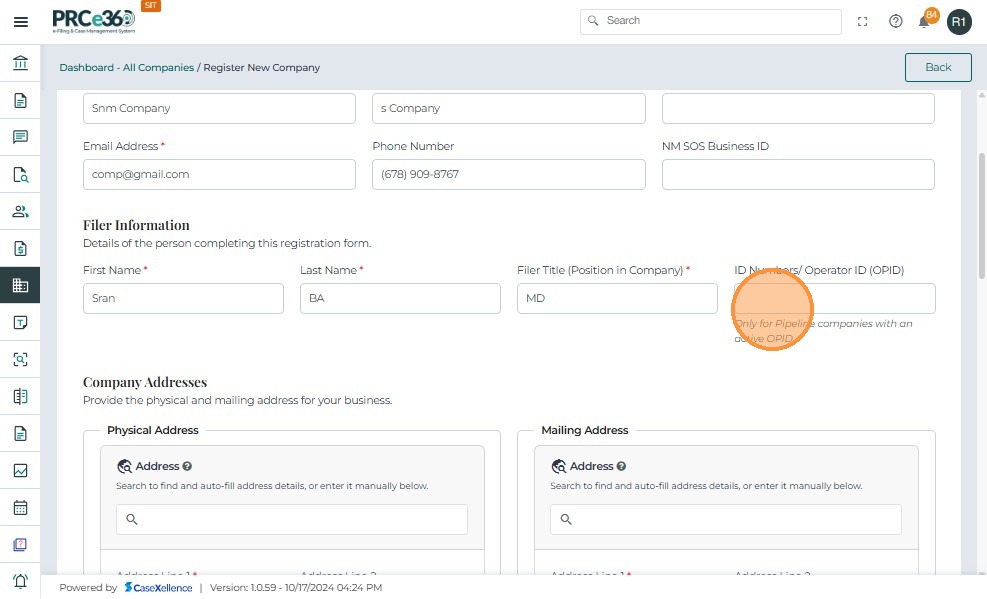
- Filer Information
- Enter filer details such as First Name, Last Name, Position in the Company, and ID Number/Operator Number.
-
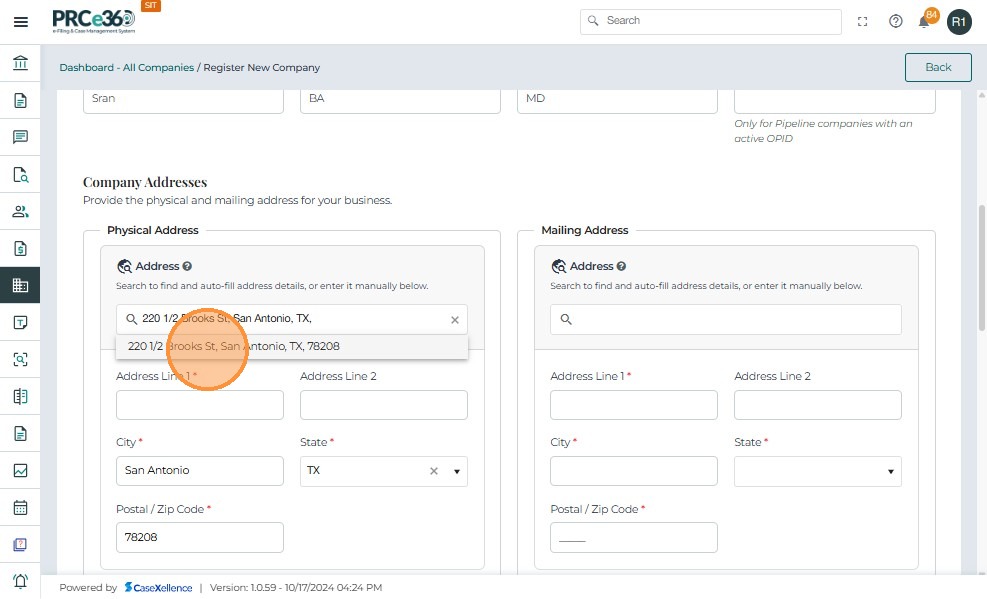
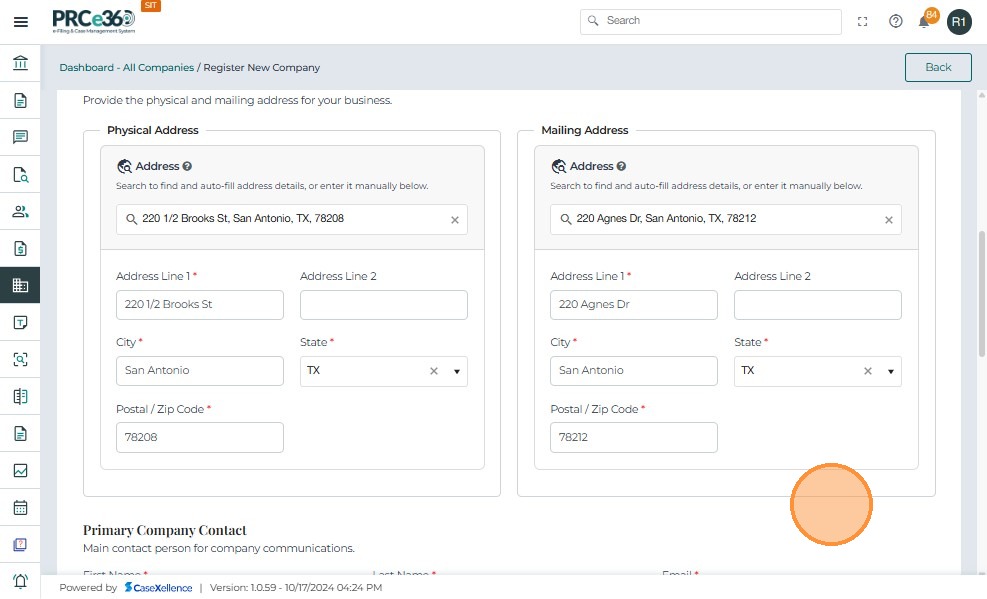
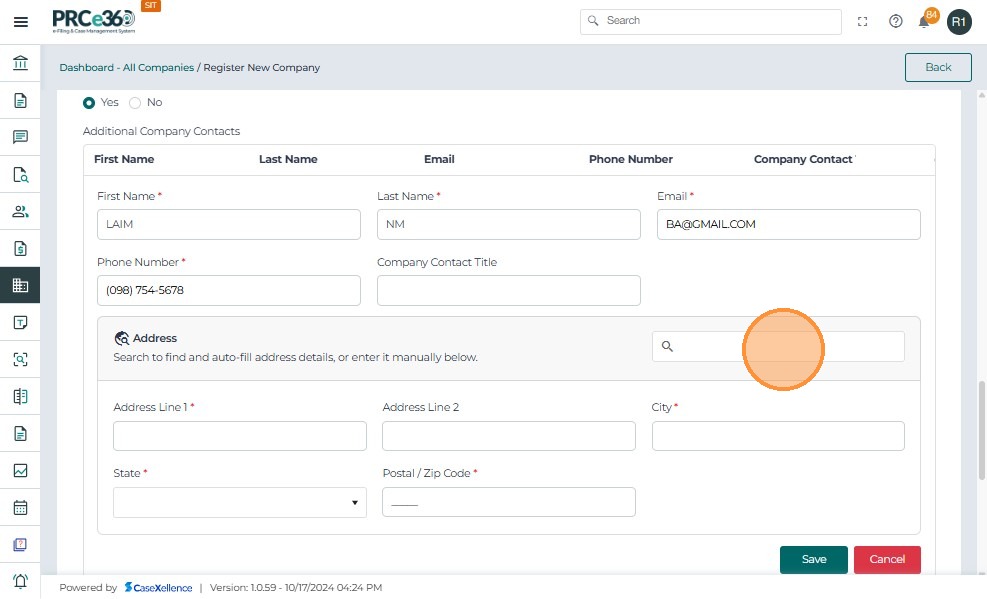
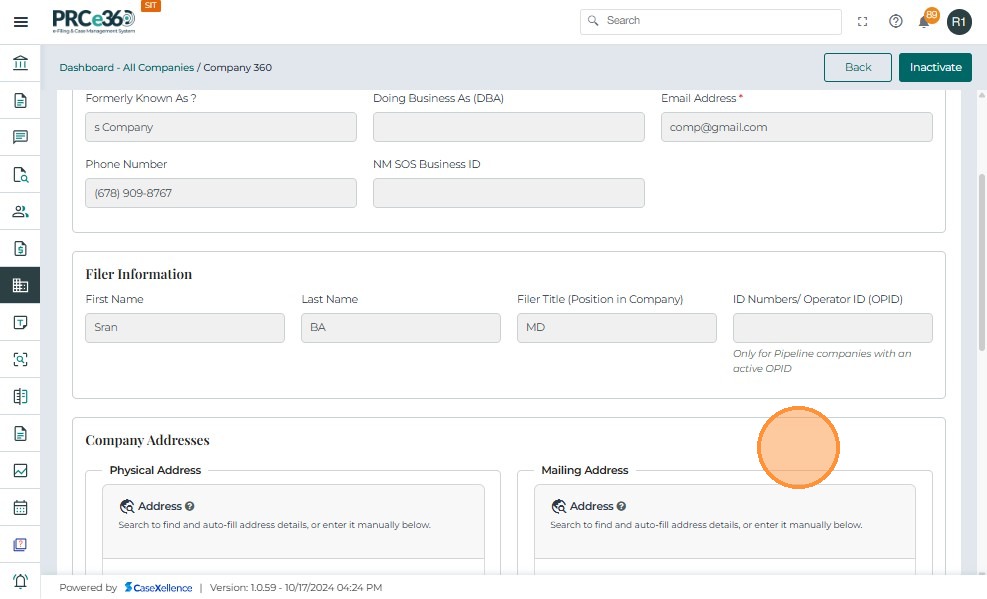
Company Addresses
- Enter the company addresses for Physical Address and Mailing Address.
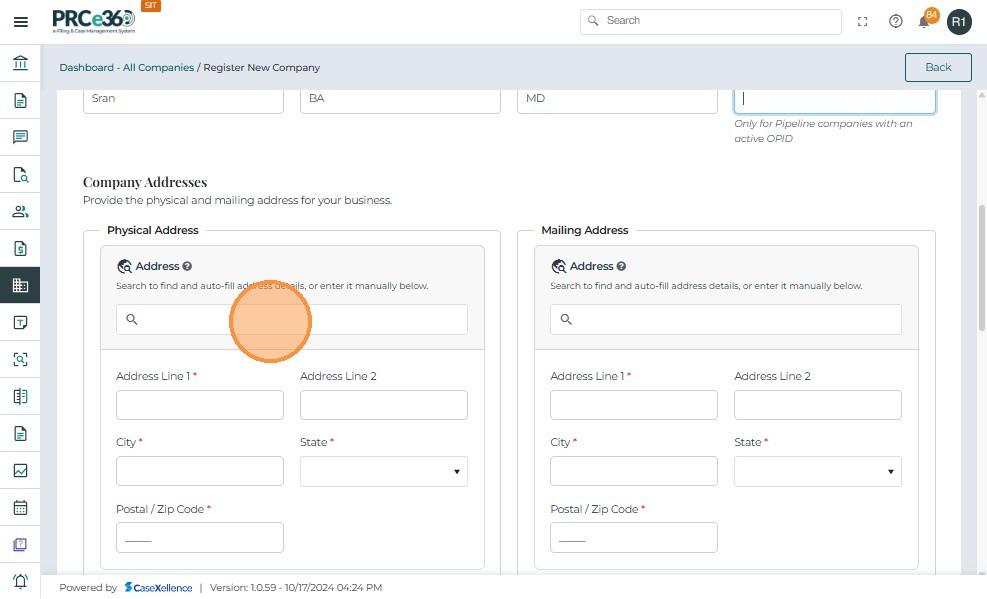
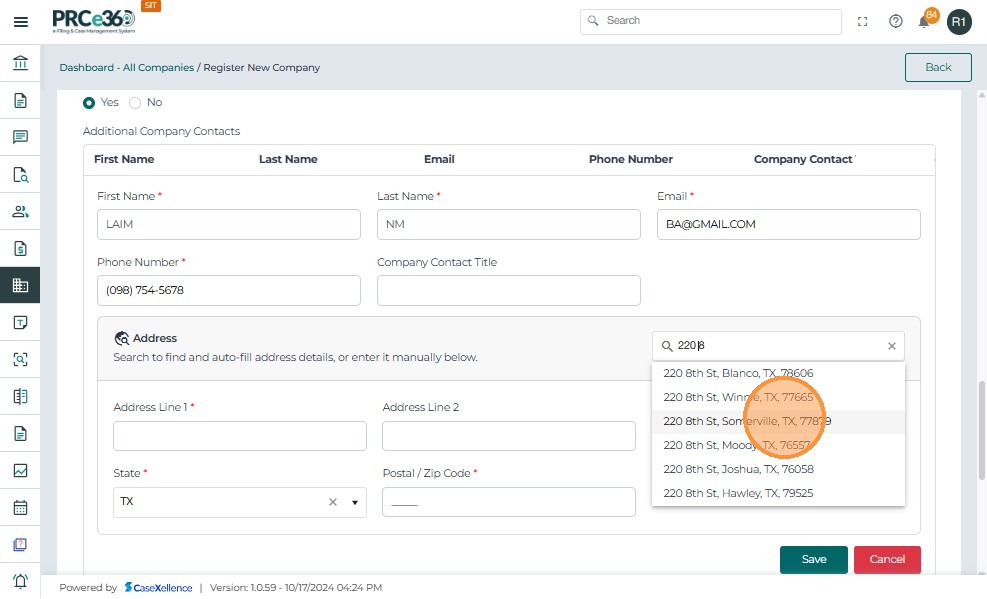
- The user can search for the address in Address Search and select the correct address
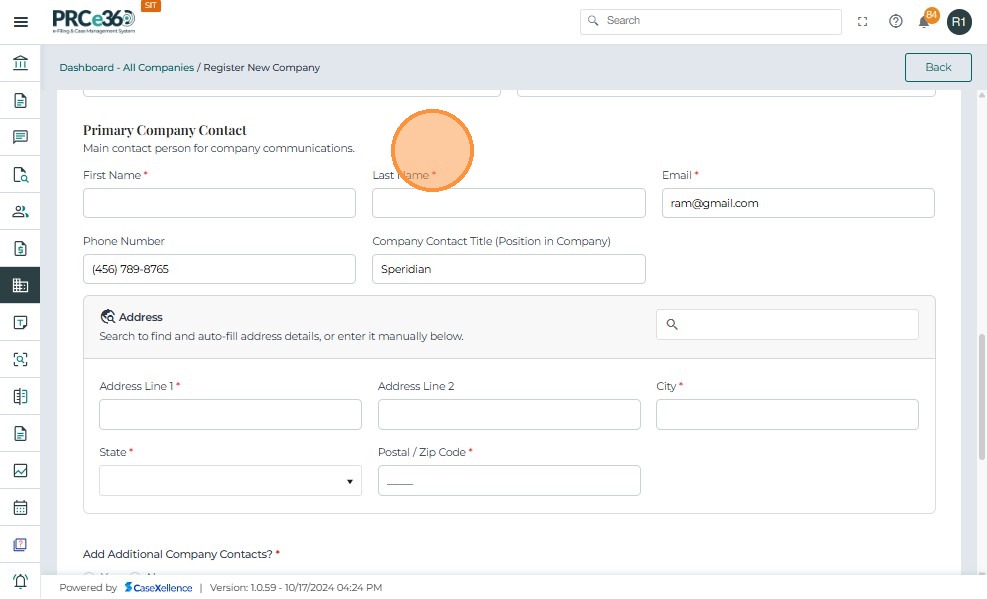
- Primary Company Contact
- Enter the details of the primary company contact.
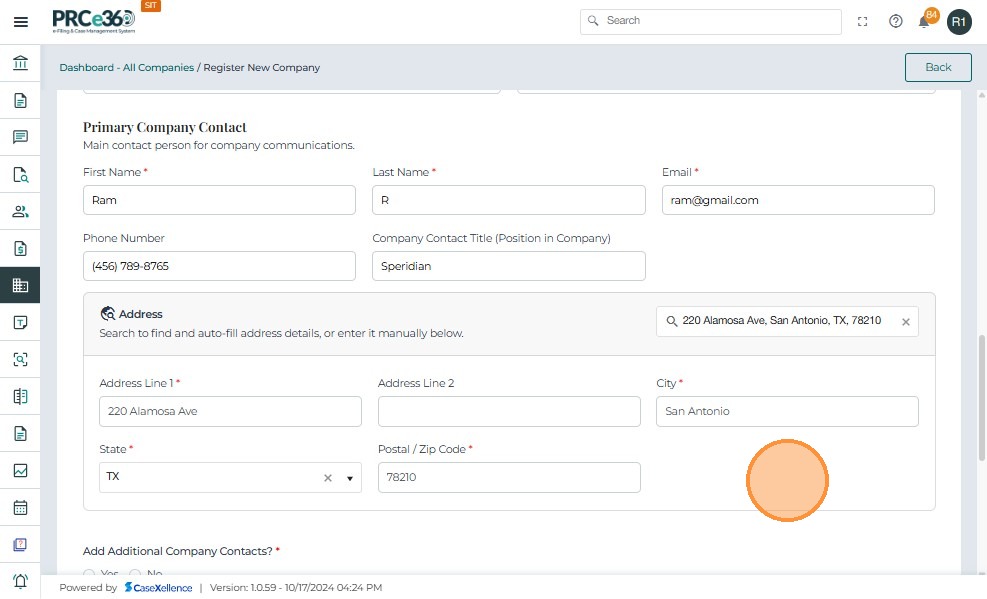
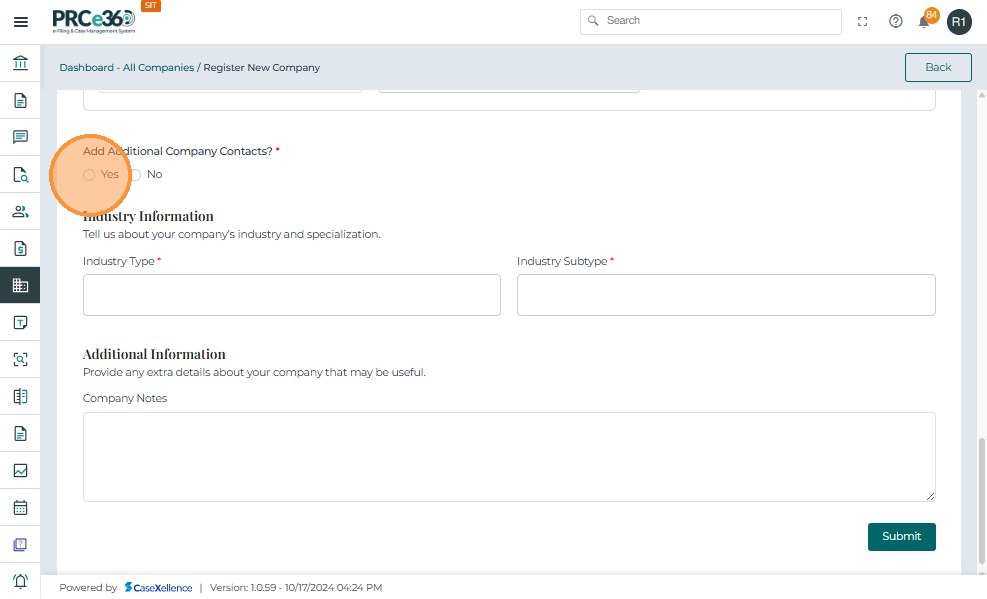
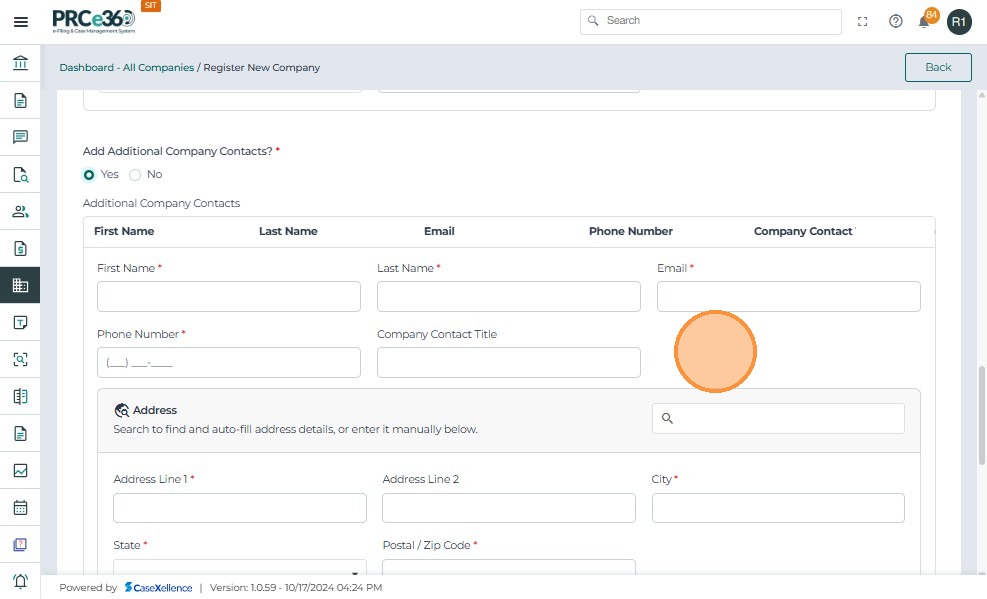
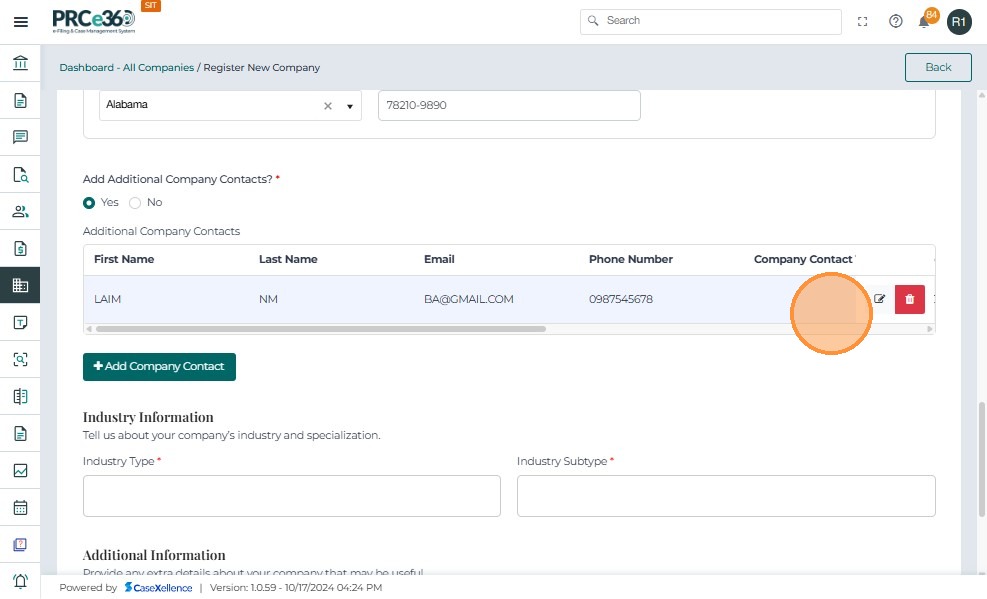
- Additional Company Contacts
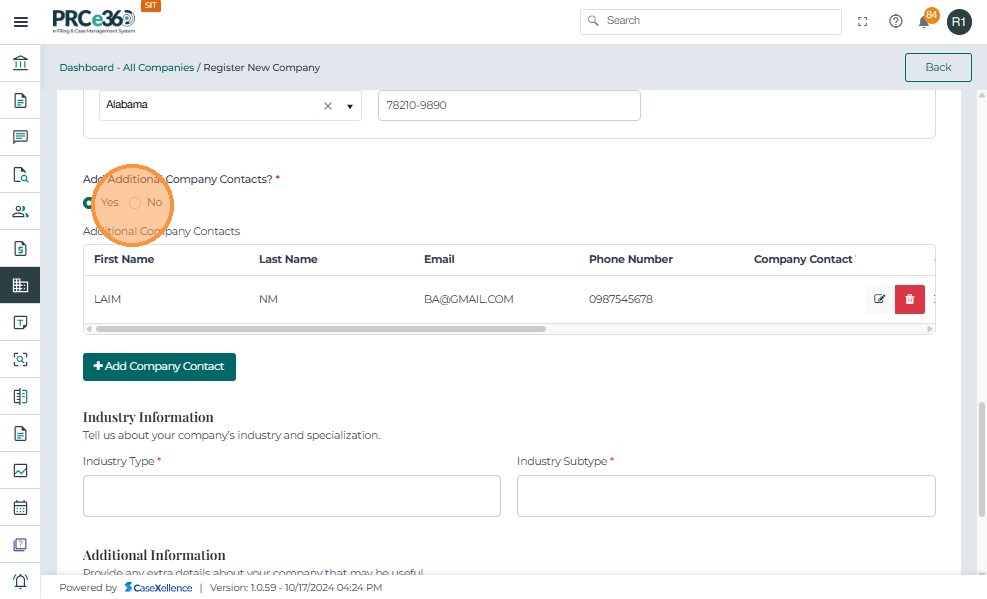
- If there are any additional company contacts to add, click Yes.
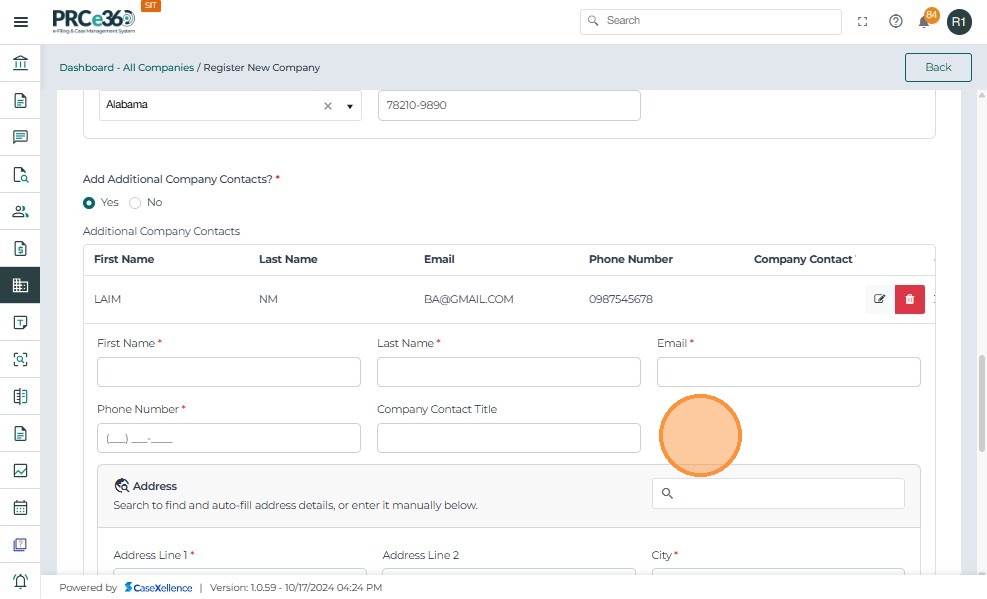
- A table will appear to add additional company contacts.
- Click Save to add the additional contact.
- If an additional contact is not needed, click Cancel.
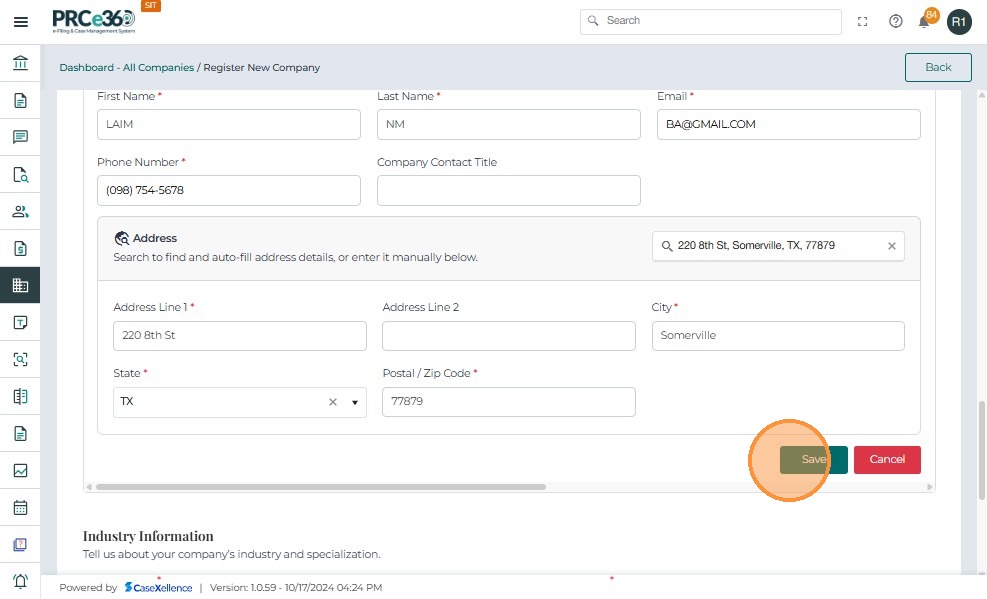
- The additional contact will be listed once saved
- The user can edit the details or delete the entry
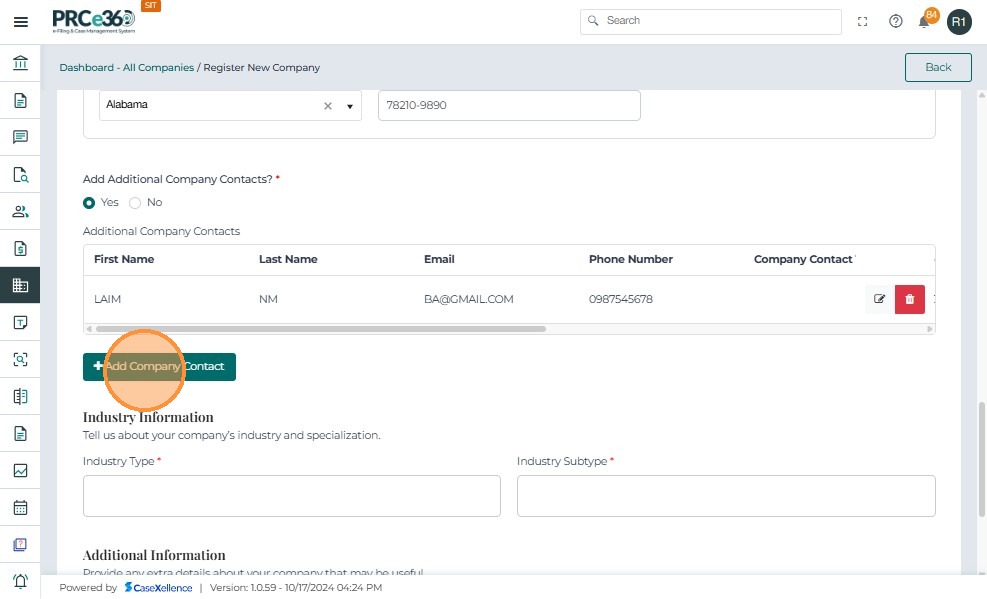
- Click Add Company Contact to save more company contact details
- If there are no additional company contacts, click No and proceed.
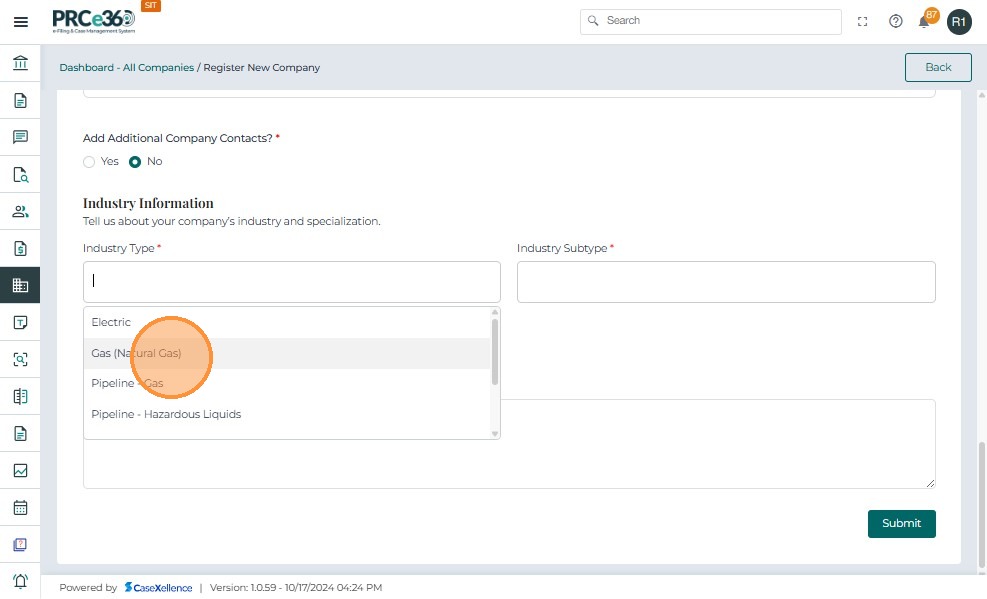
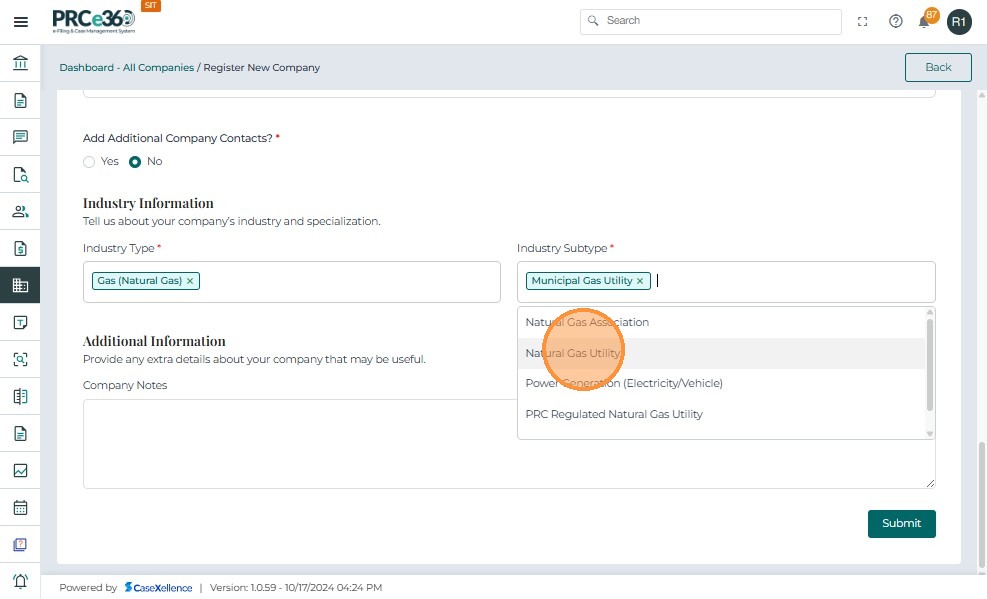
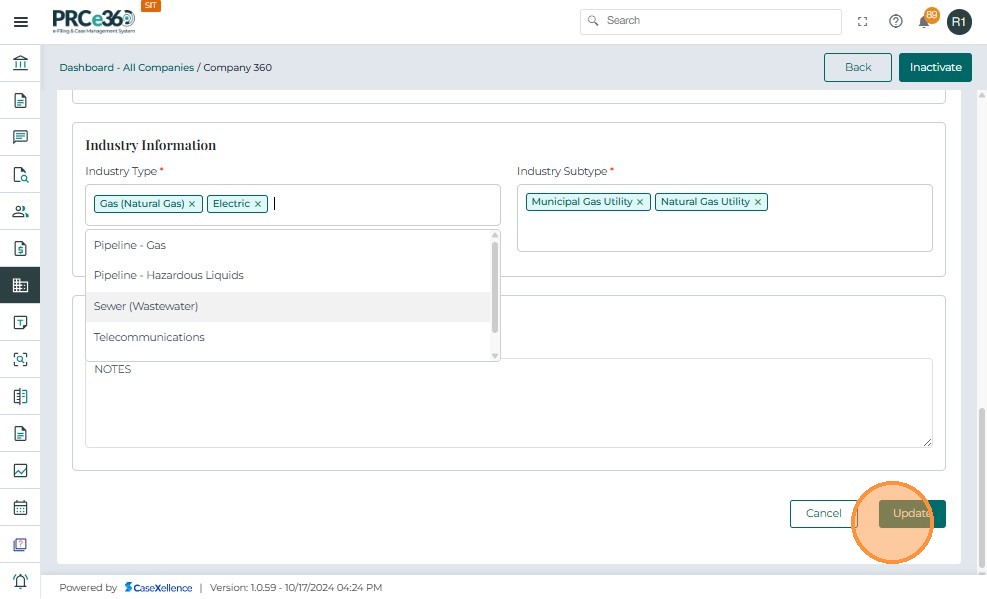
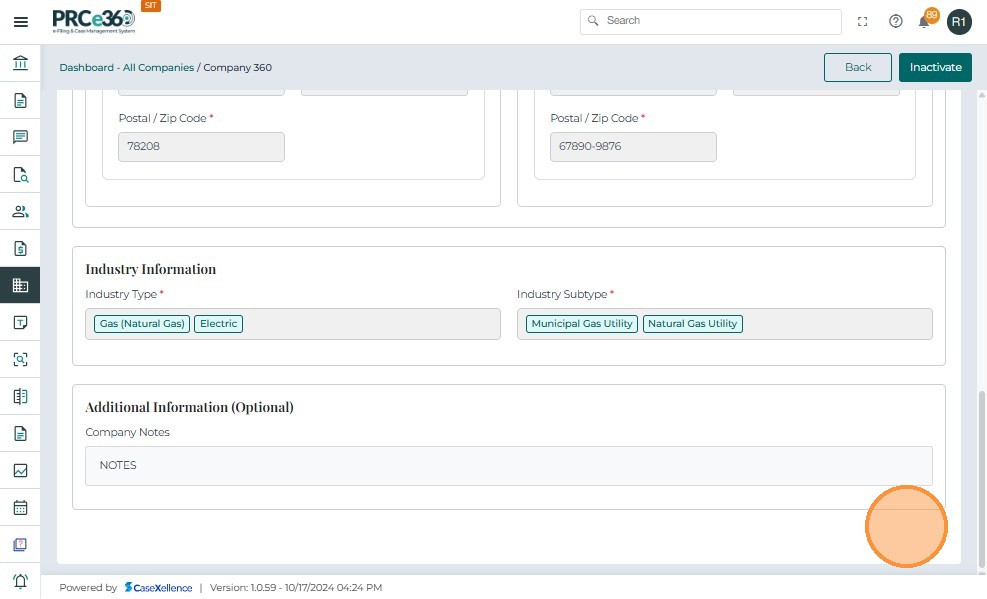
- Industry Information
- Select the industry information and specialization.
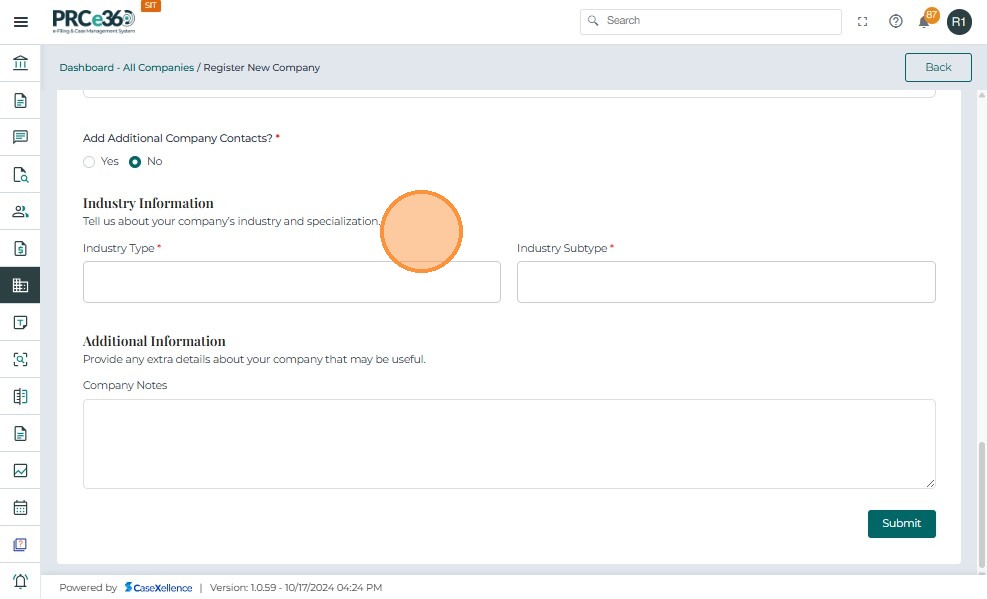
- Industry type and subtype can be selected from the given dropdown.
- Additional Information
- Additional information about the company can be added here.
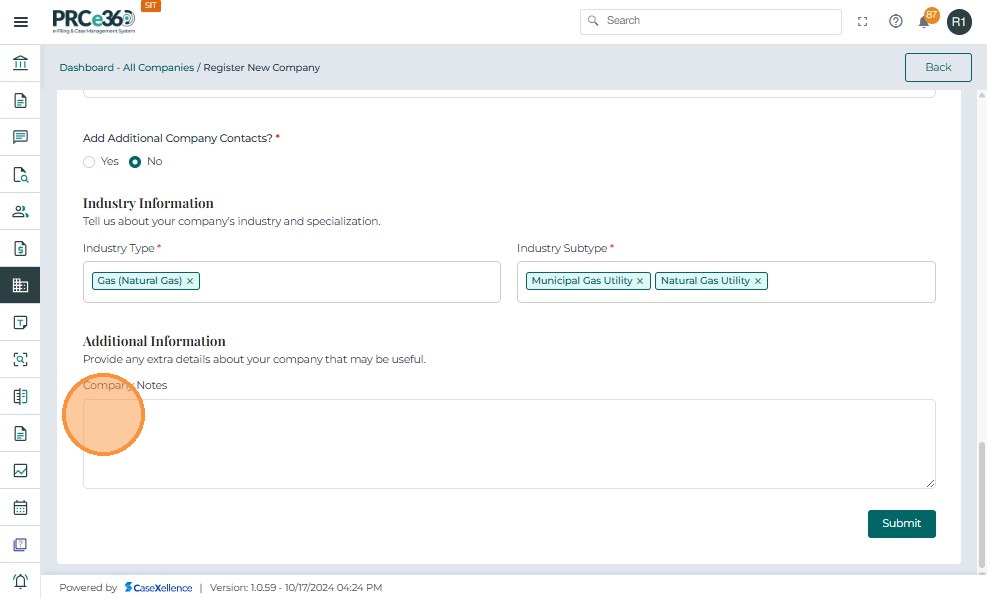
- Once all fields are entered, click on the Submit button to register the company.

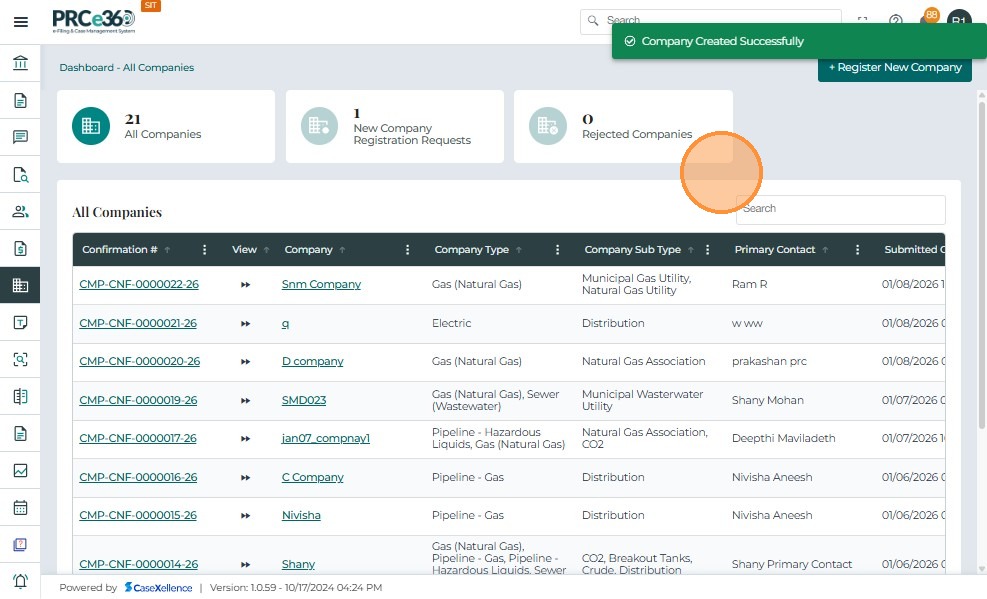
- A company successfully created banner will appear.
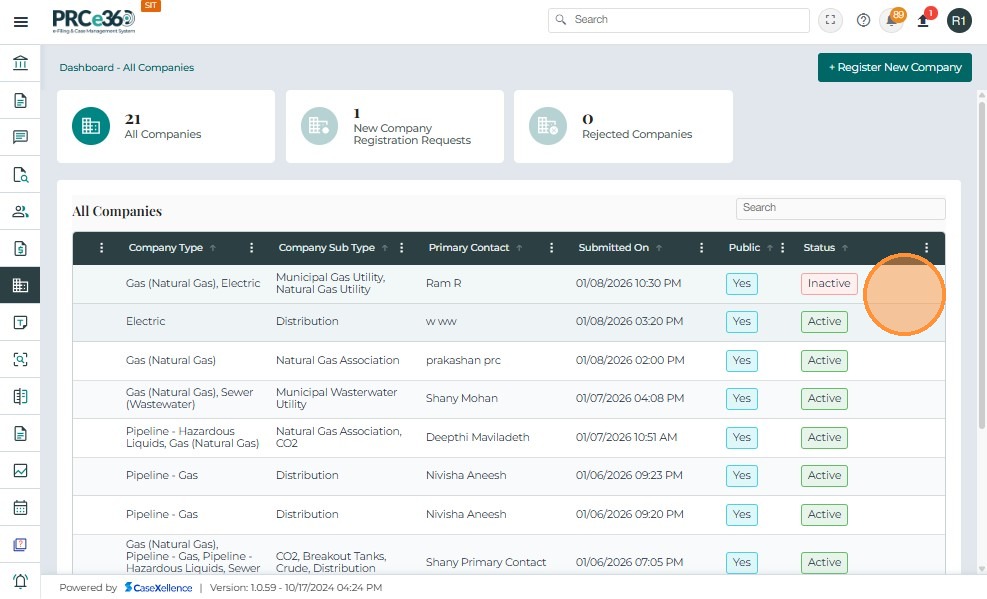
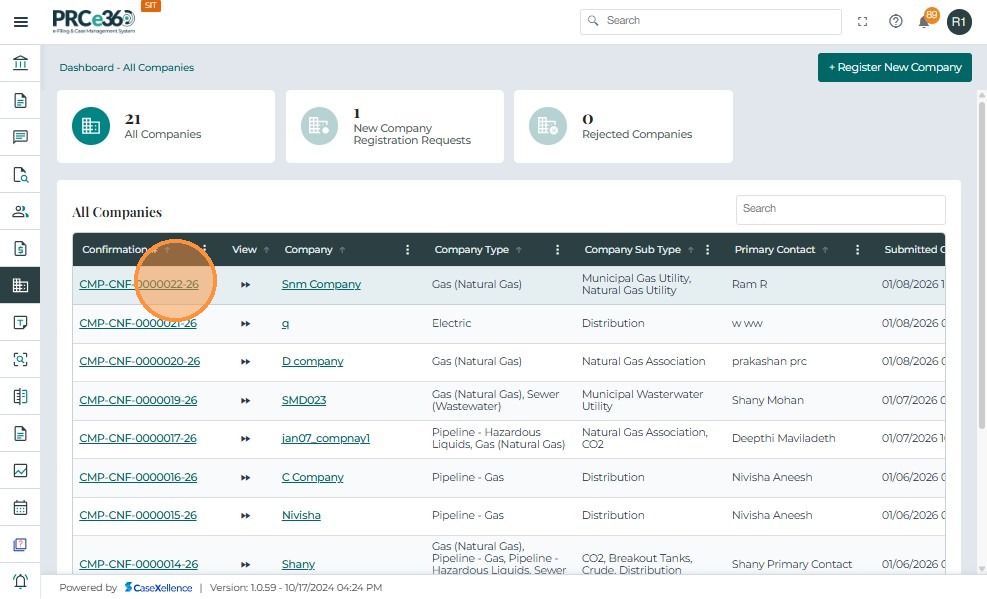
All Companies Queue
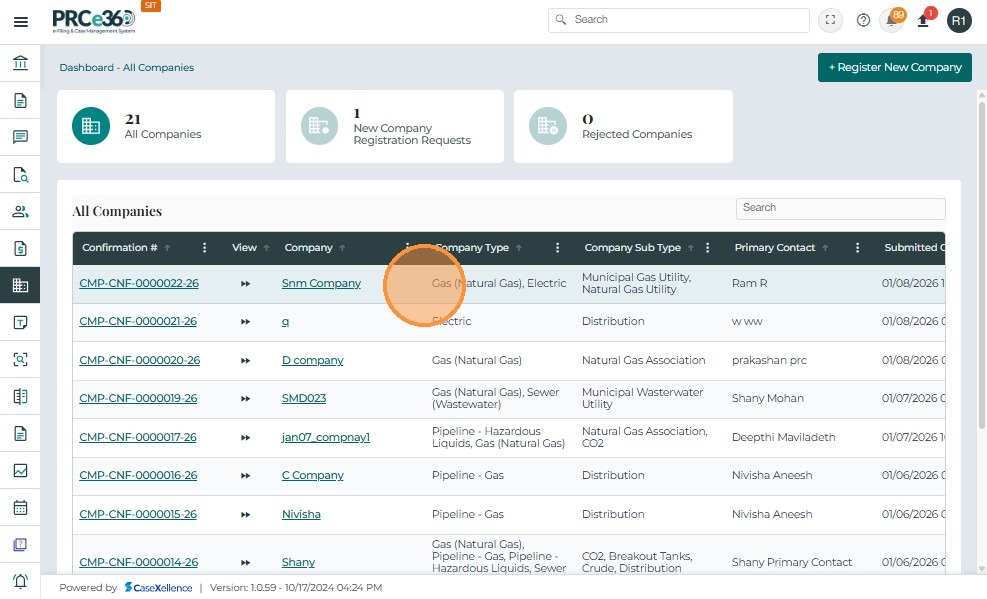
- Go to the Company dashboard and click on the All Companies queue to view the registered company.
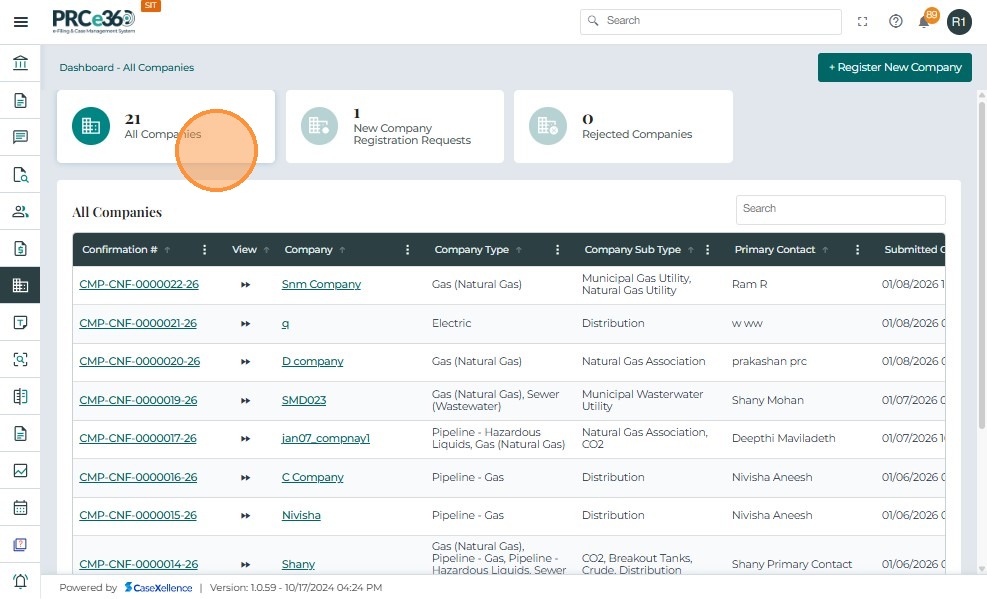
- The registered company will be listed along with other registered companies with the Active status.
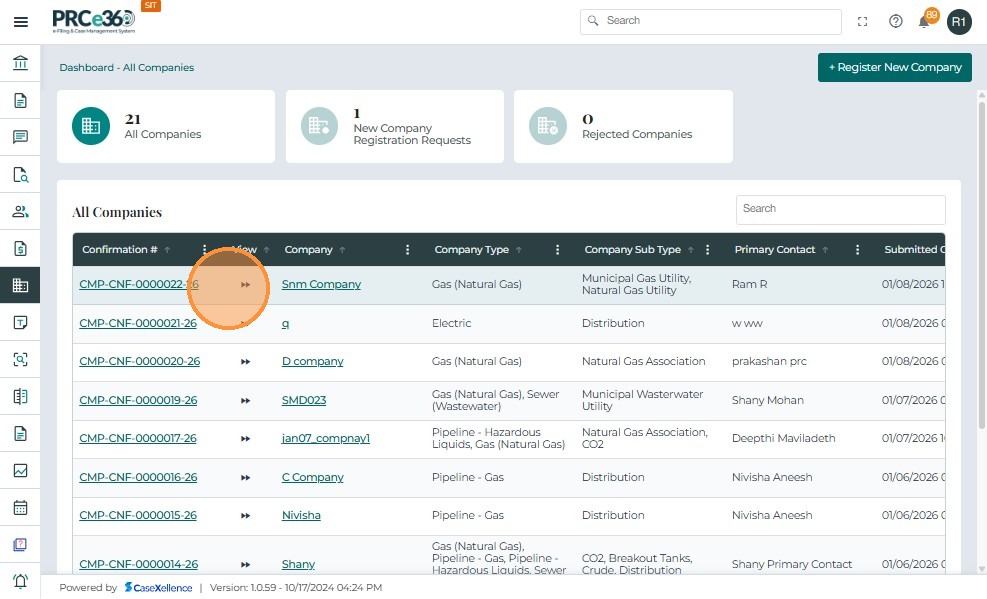
- Click on the confirmation number to view the 360 view of the registered company.
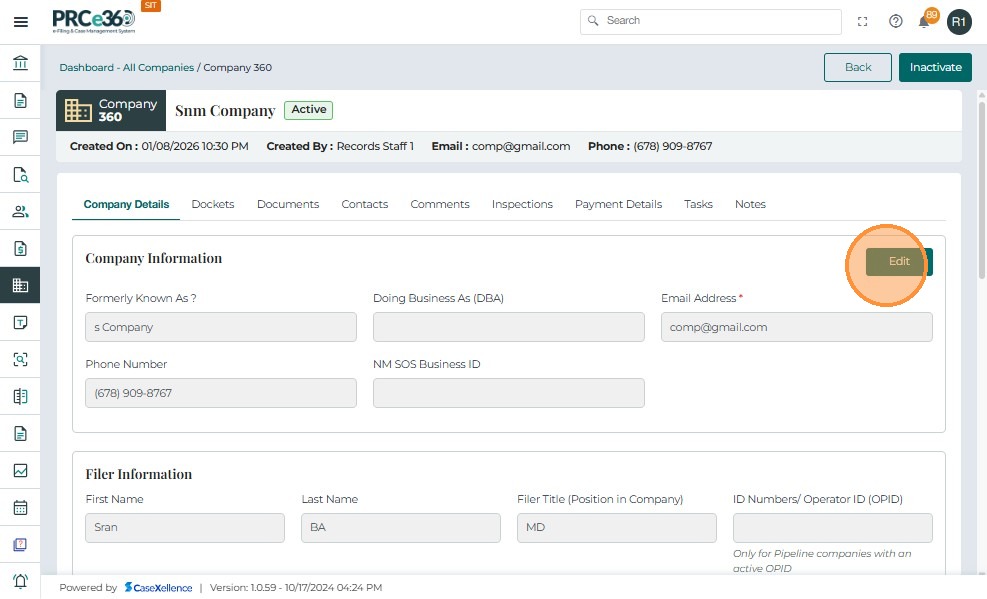
Company 360 View
Company Details
- The details that were entered in the form can be viewed under the Company Details tab.

- The user can edit the details by clicking on the Edit button
- Click on Update once edit is done
- The edited changes can be viwewed in the company case 360.
Dockets Tab
- This tab lists all dockets that are related to the company
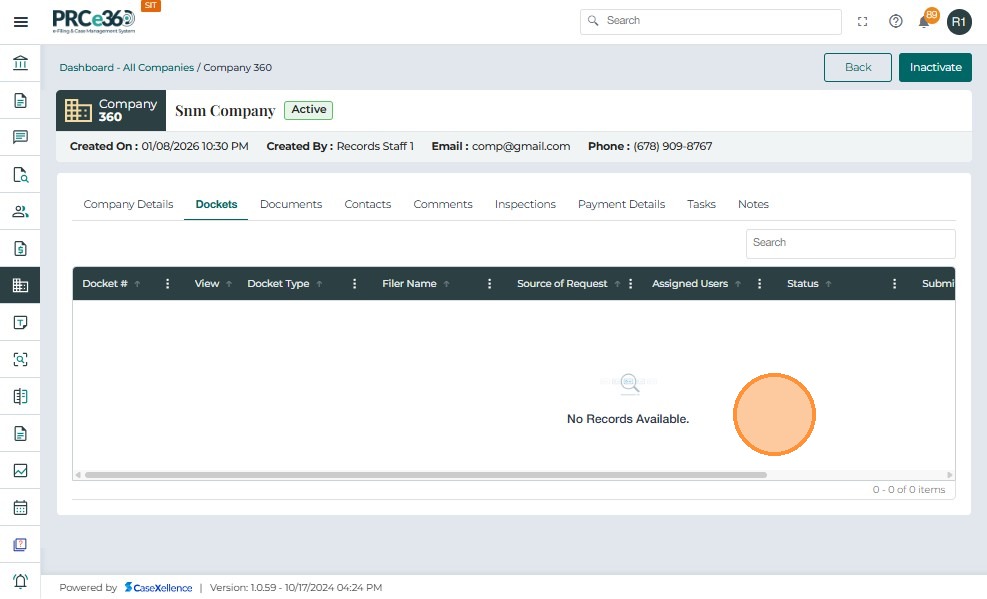
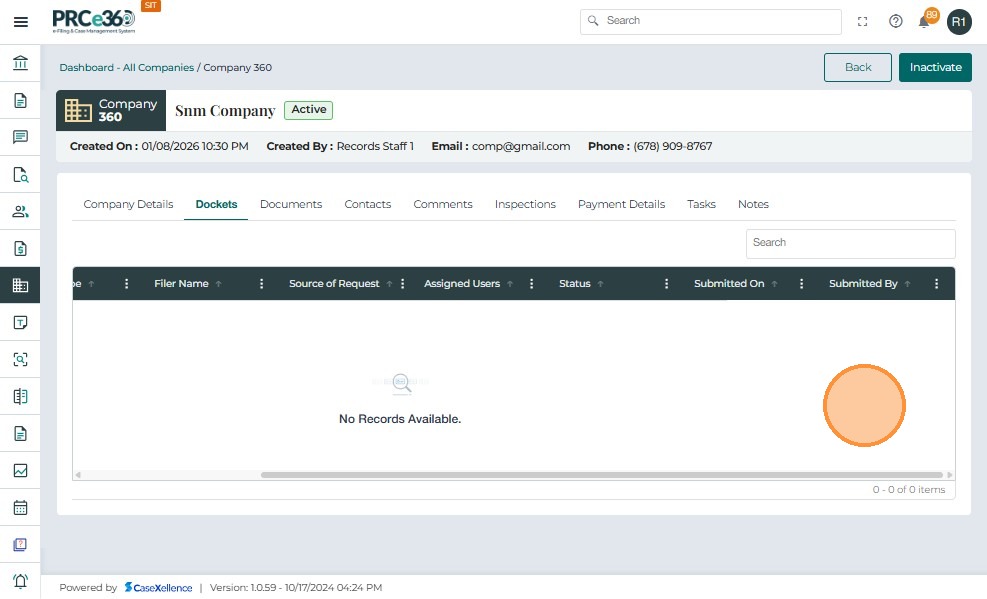
- The grid includes columns like:
- Docket # – A unique reference number assigned to the case.
- Docket Type – The case type that was entered in the new case form.
- Filer Name – The name of the person or role that filed the case.
- Source of Request – The source of the request for the case.
- Assigned Users – The name of the person or role to which the case is assigned.
- Status – The status of the filed case.
- Submitted On – The date and time when the case was filed.
- Submitted By – The person or role that filed the case.
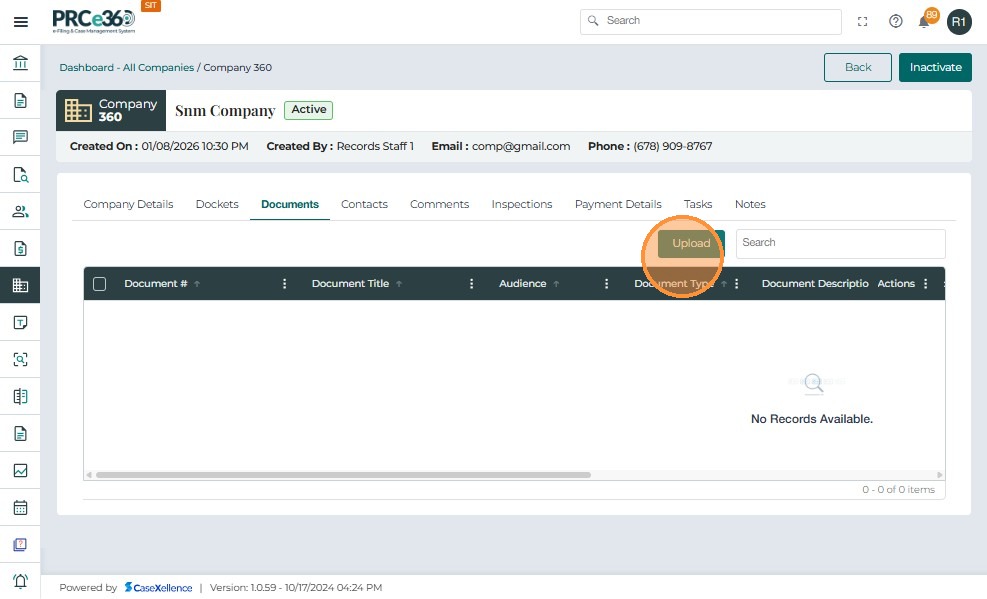
Documents Tab
- The Documents tab will show all documents uploaded related to the registered company.
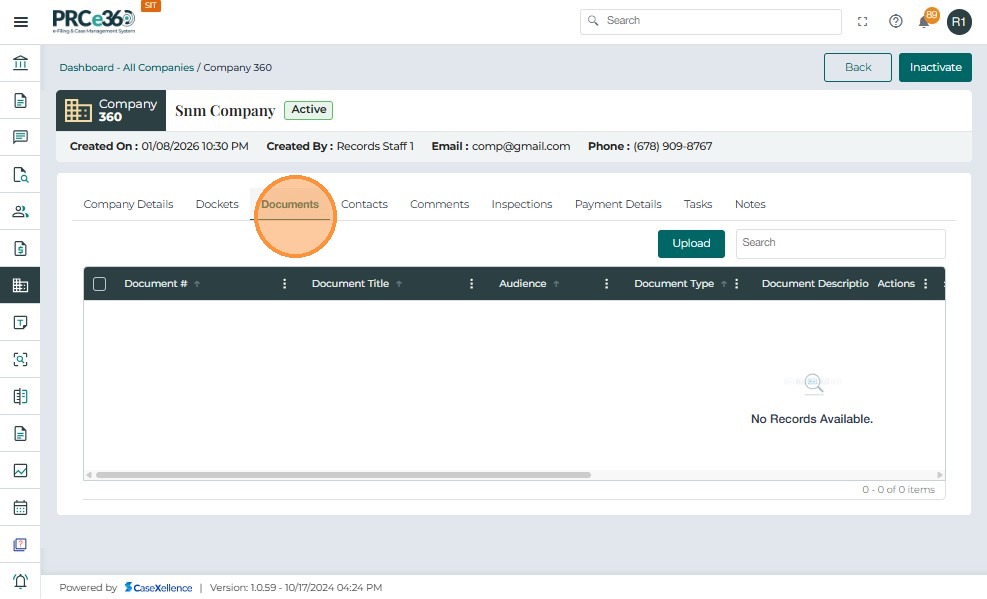
- Click on Upload to upload documents.
- A popup will appear to enter document details.

-
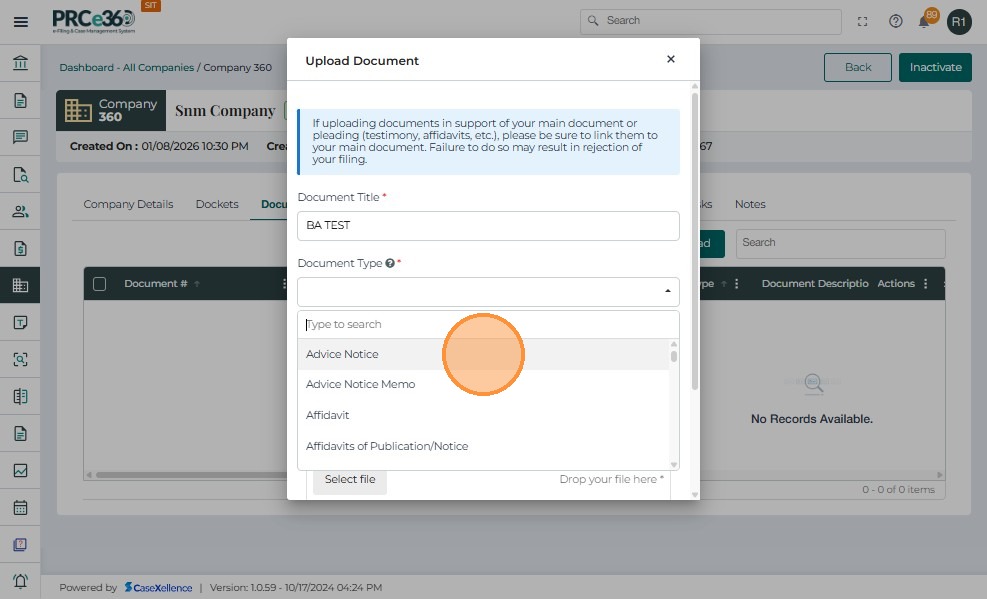
For documents to be uploaded, complete the following fields in the table:
- Document Title – Provide a clear title.
- Document Type – Select from the dropdown (e.g., Petition, Exhibit, Order, Supporting Document).
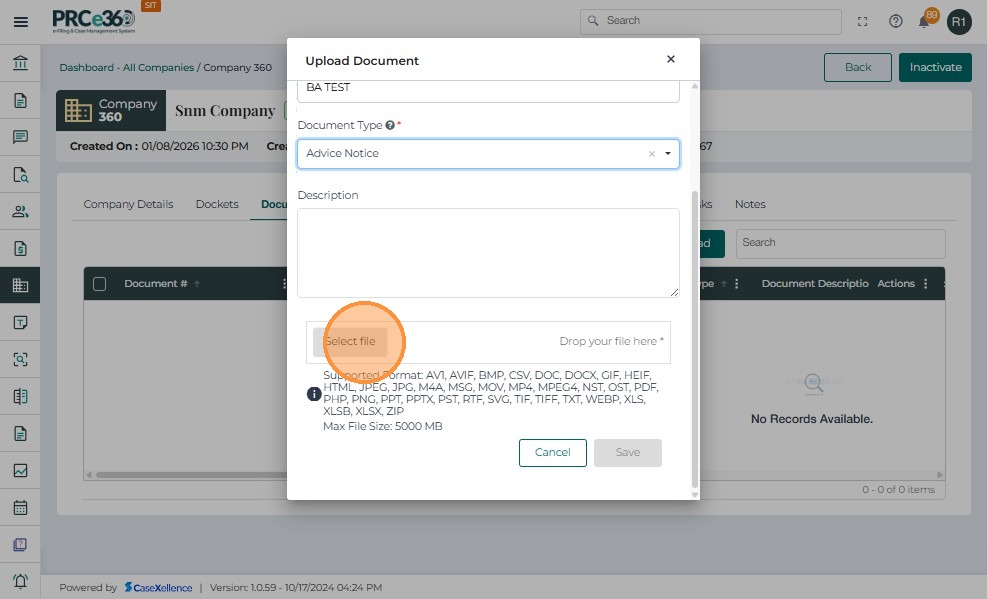
- Document Description – Enter a brief description summarizing the contents.
- File Size – Displays automatically after upload.
-
Click on Save once all fields are entered and a file is selected.
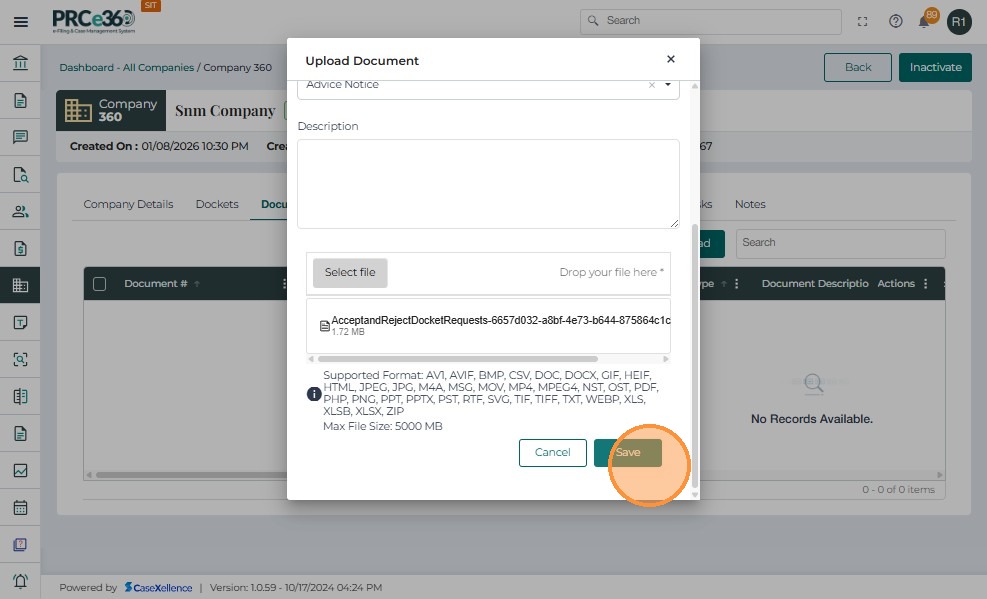
- The message will appear as a green banner displaying the document has been uploaded.
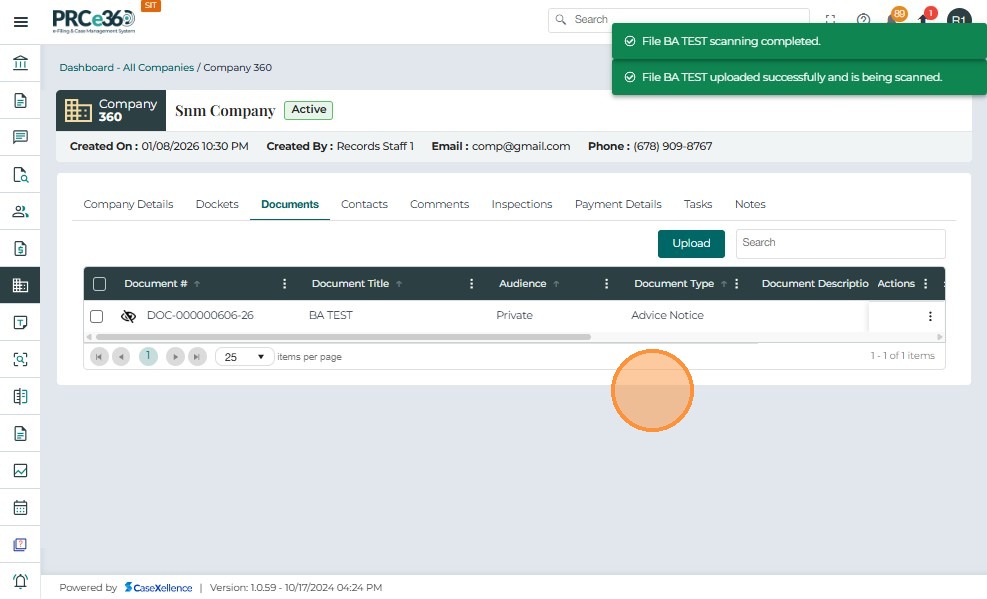
-
The document will be listed with a document number in the grid.
-
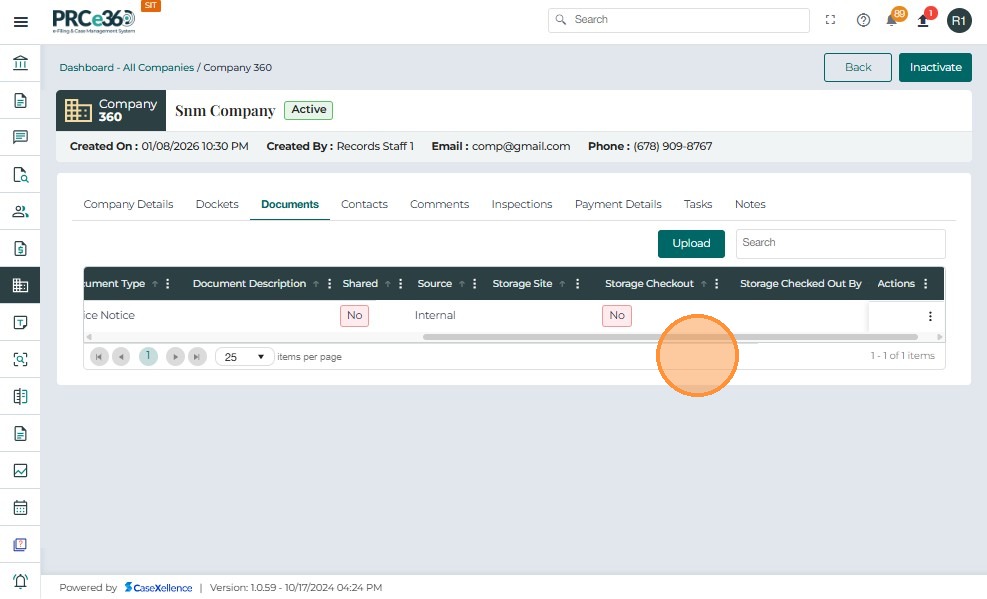
This grid includes columns like:
- Document # – A unique reference number assigned to the document.
- Document Title – The name of the document given.
- Audience – The audience/visibility status of the document.
- Document Type – The document type that was selected.
- Document Description – The description that was provided for the document.
- Shared – Whether the document is shared with other users or not.
- Source - Source of the document
- Storage Site - Selected storage site of the document
- Storage Checkout - Whether storage checkout of the document is done
- Storage Checked Out by - Name of the role or user that checked out the document
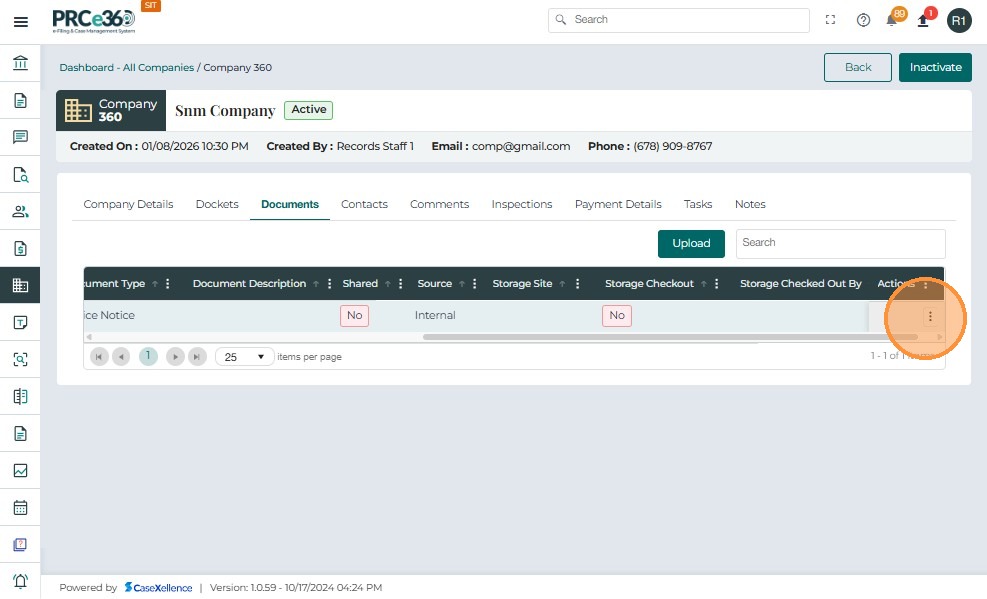
- Actions – Provides a dropdown menu with available management options for each document.
- The Actions button (three vertical dots) provides multiple management options for each uploaded document:
- Make Internal – Converts a document’s visibility to internal-only.
- Share – Enables sharing of the document with authorized internal users.
- Check Out - Enables the user to check out the document
- Edit - Enables the user to edit details of the document
- More Details – A side panel appears with more details on the uploaded document.

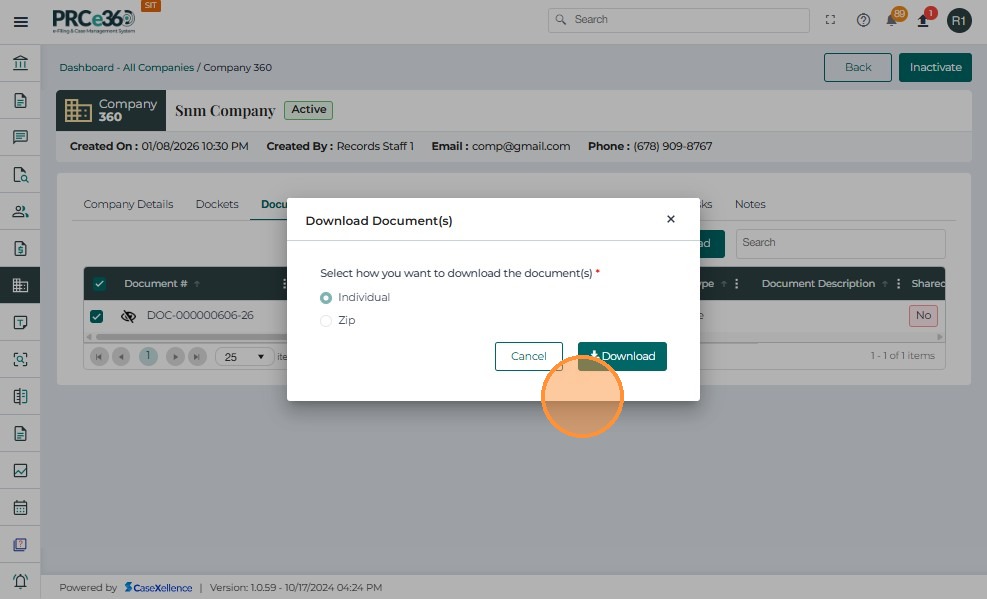
- If the user want to download a particular document , Click on the multiple selection checkbox.
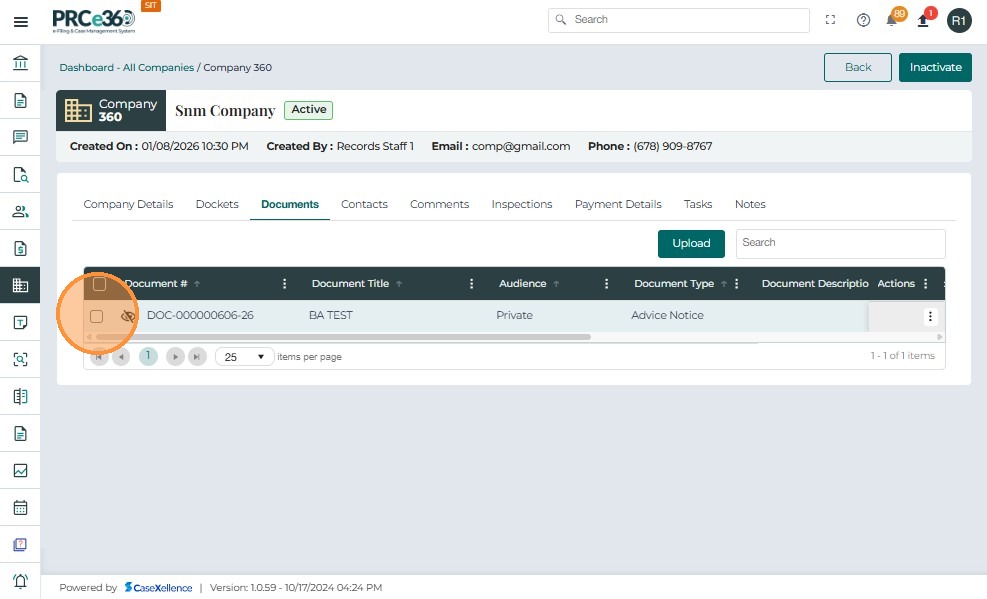
- Click Download Document(s)

- Click "Select how you want to download the document(s)" or "Cancel Download"
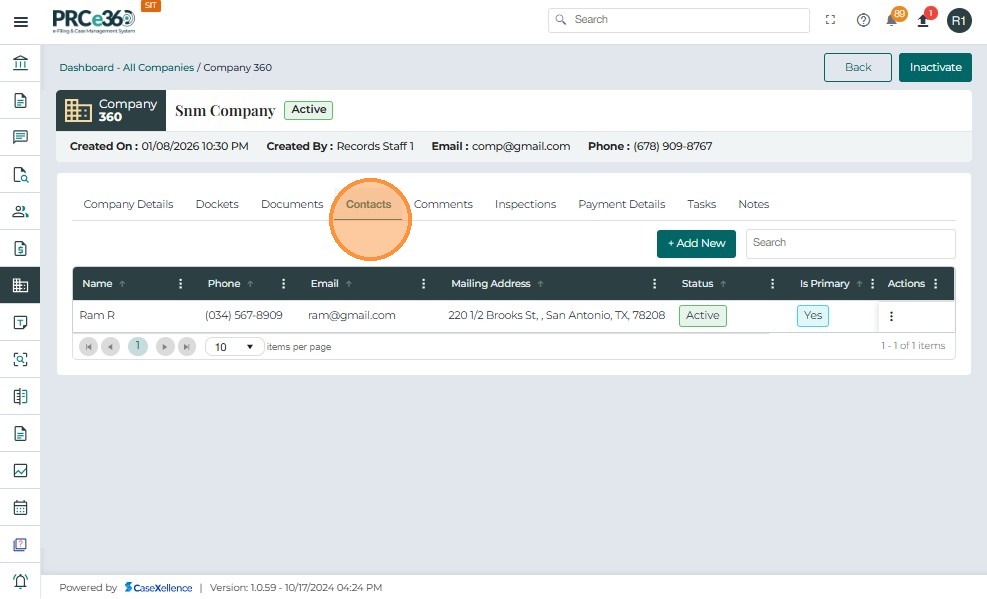
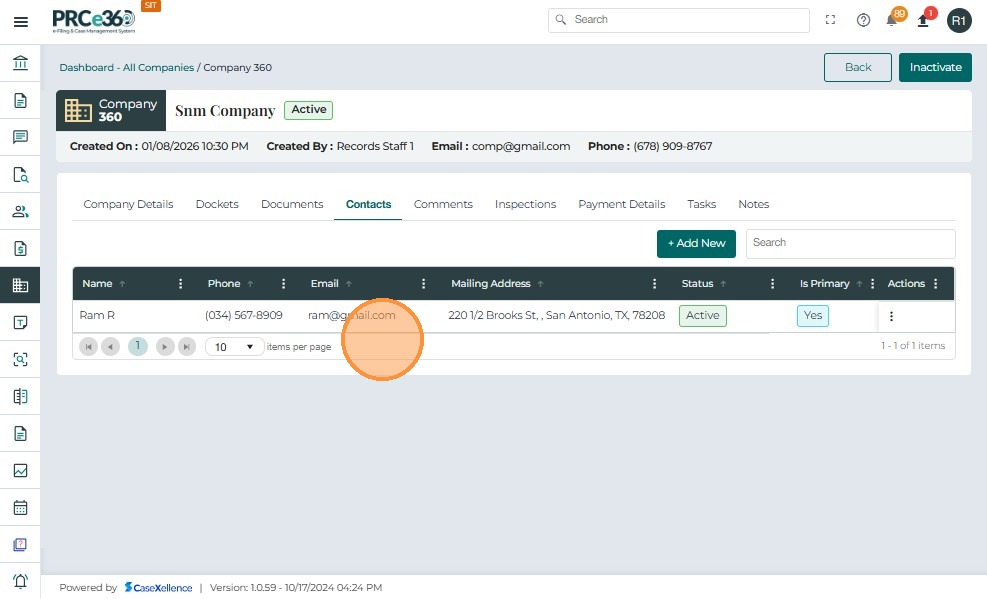
Contact Tab
- The Contact tab will show the company contacts that were added in the registration form.
- The grid includes columns like:
- Name – The name of the company contact(s).
- Phone – The phone number of the company contact(s).
- Email ID – The email ID of the company contact(s).
- Mailing Address – The mailing address of the company contact(s).
- Status – Status of the company contact(s) (Active/Inactive).
- Actions – Provides a dropdown menu with available management options for the contact.
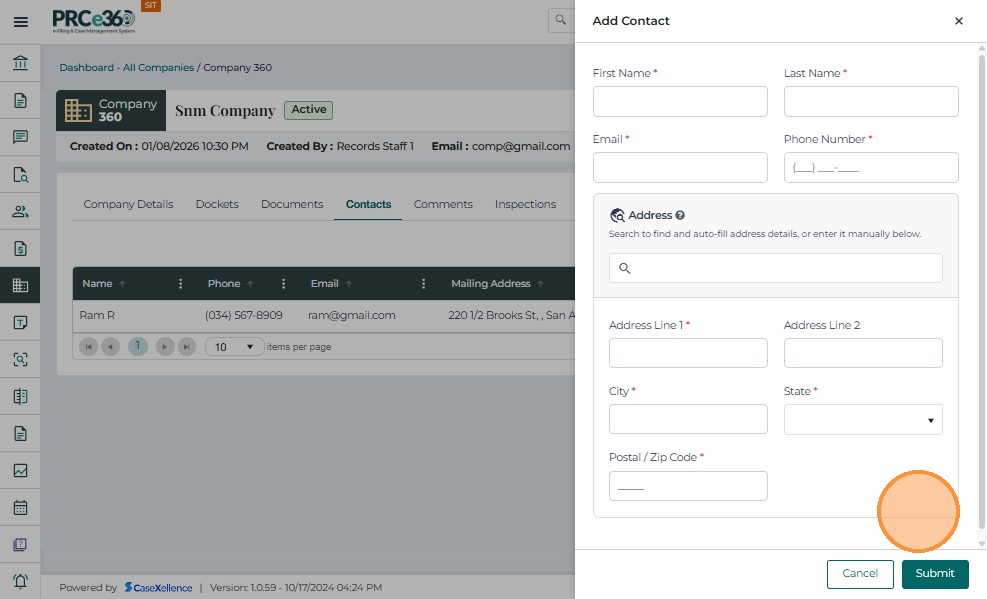
- To add new contacts, click the Add New button.
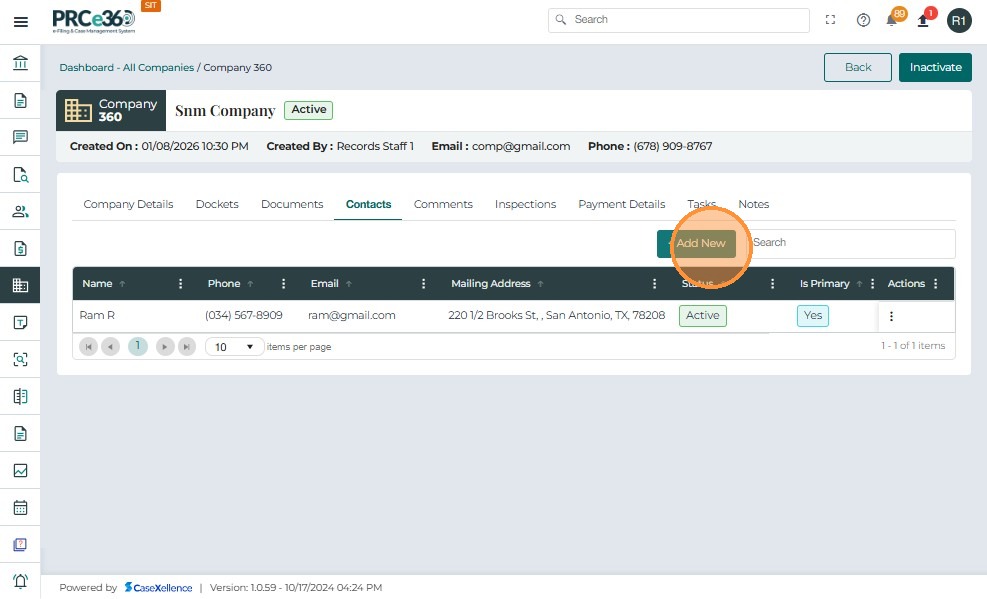
-
Enter details of the contact.
-
Click on Submit to save the details of the contact.
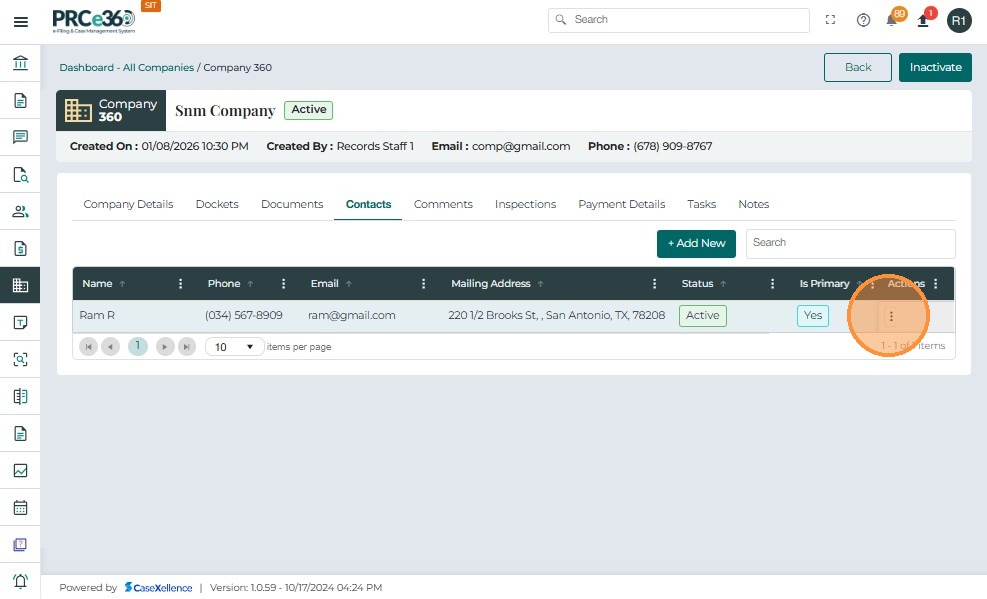
-
The new contact will be added and shown in the grid.
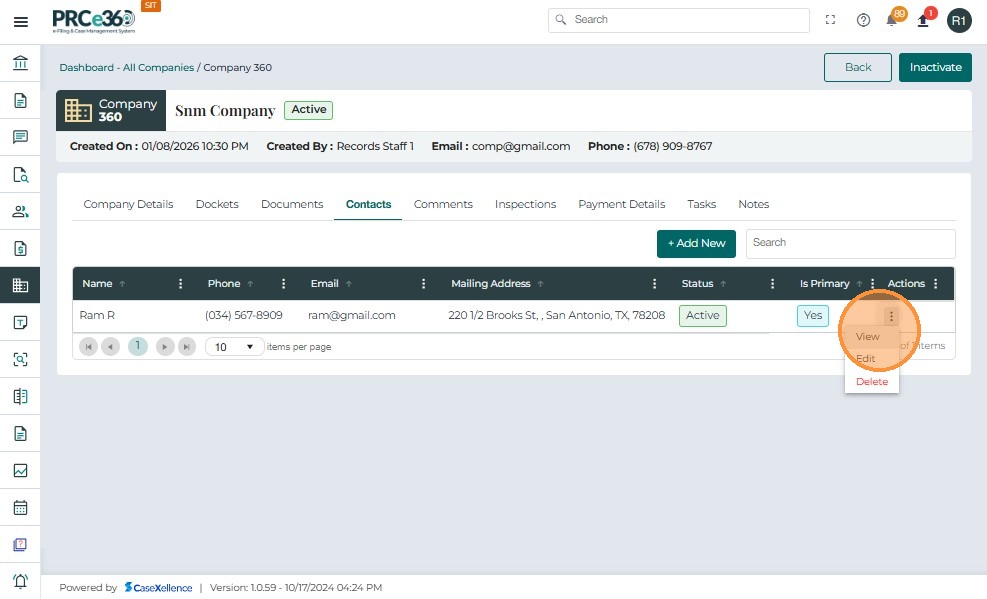
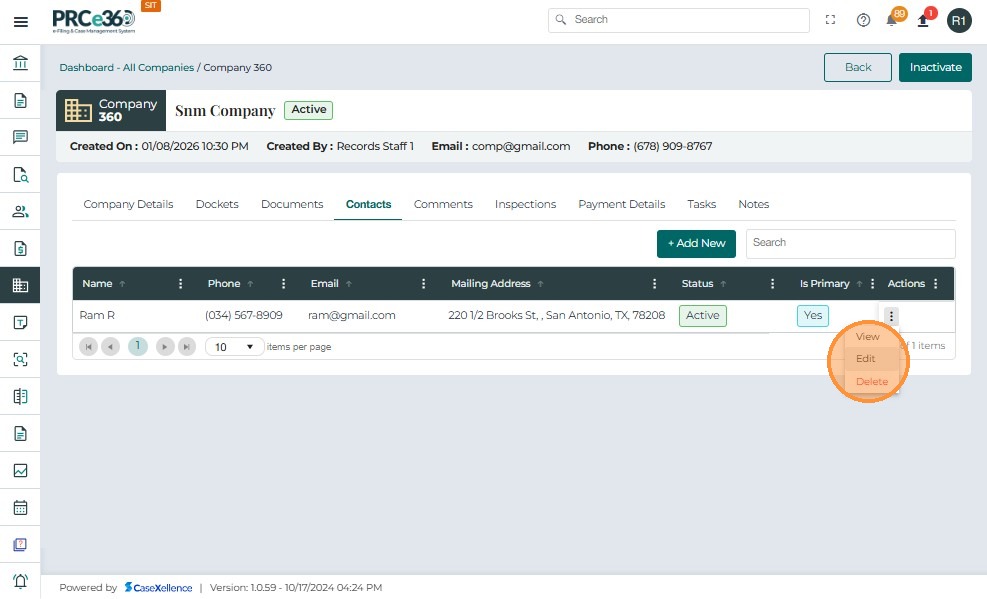
- The Actions button (three vertical dots) provides multiple management options:
- View – View more details on the contact.
- Edit – Edit selected details of the contact.
- Delete – Delete the contact from the company.
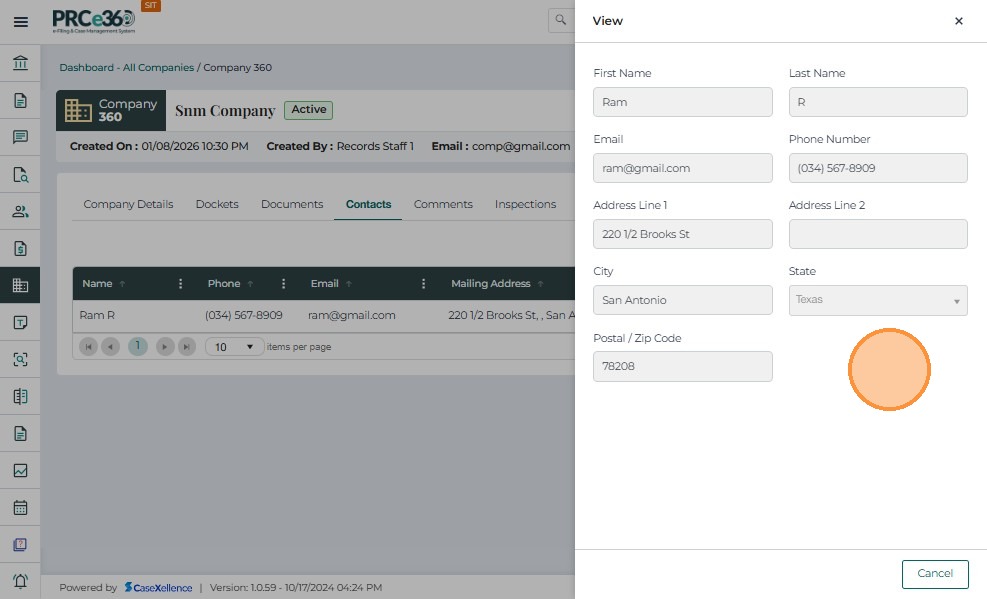
- Click "View" to View the contact details
- A Sidepanel will appear displaying all the details.
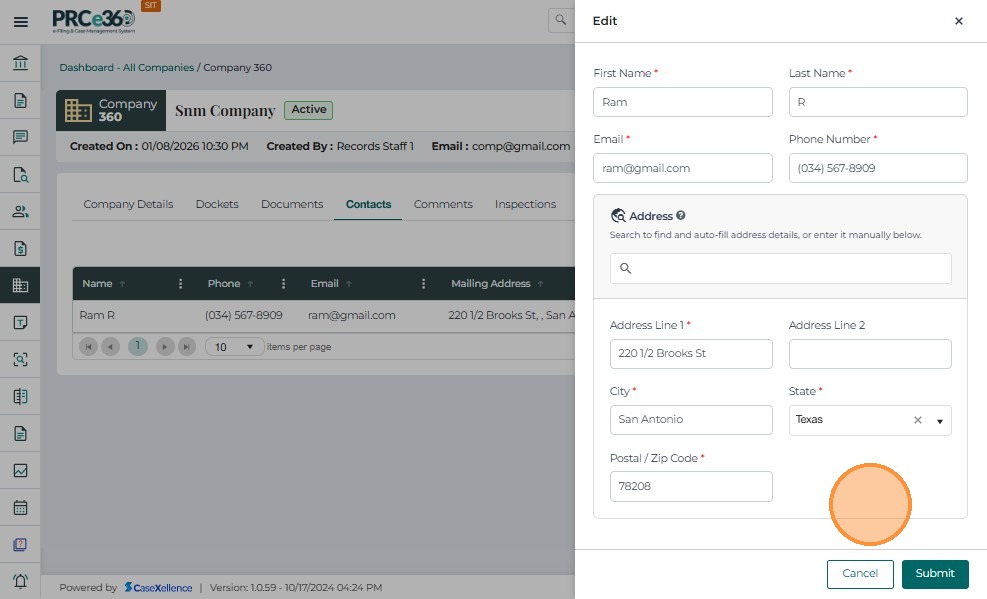
- On the Action button , Click "Edit".
- A Sidepanel will appear to edit all the details.
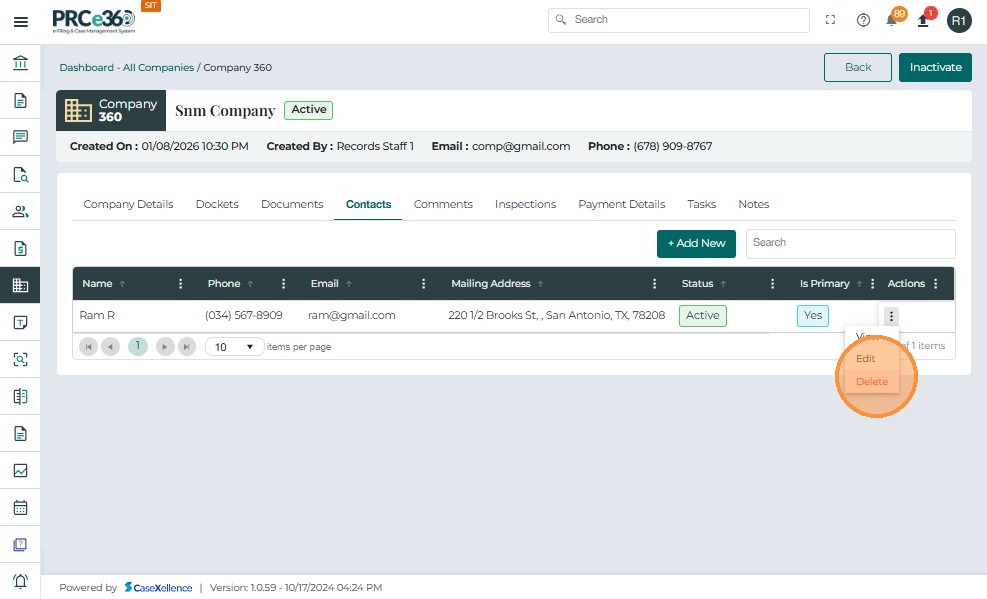
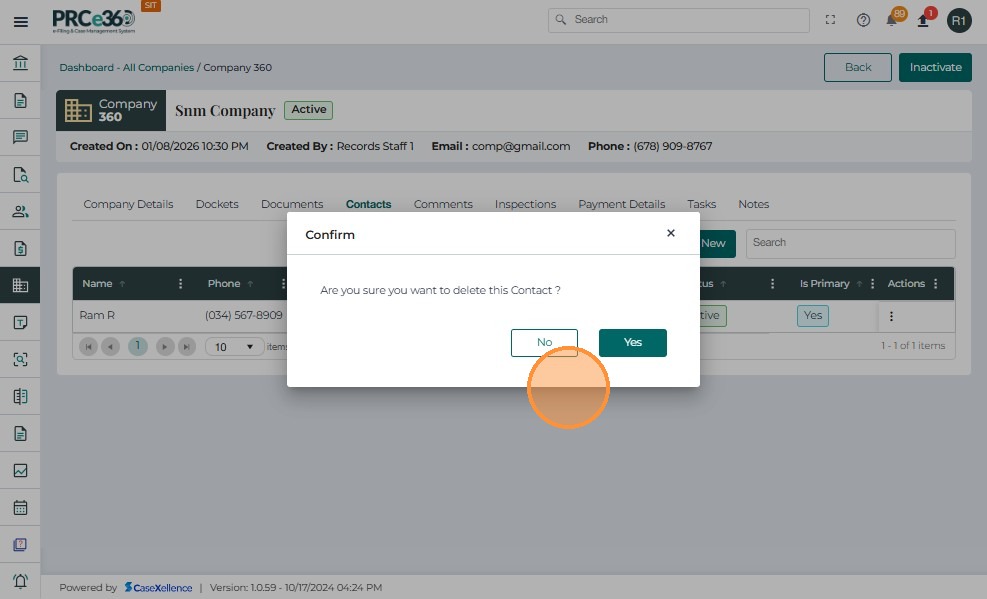
- On the Action button , Click "Delete"
- A popup will show asking to confirm the delete or cancel.
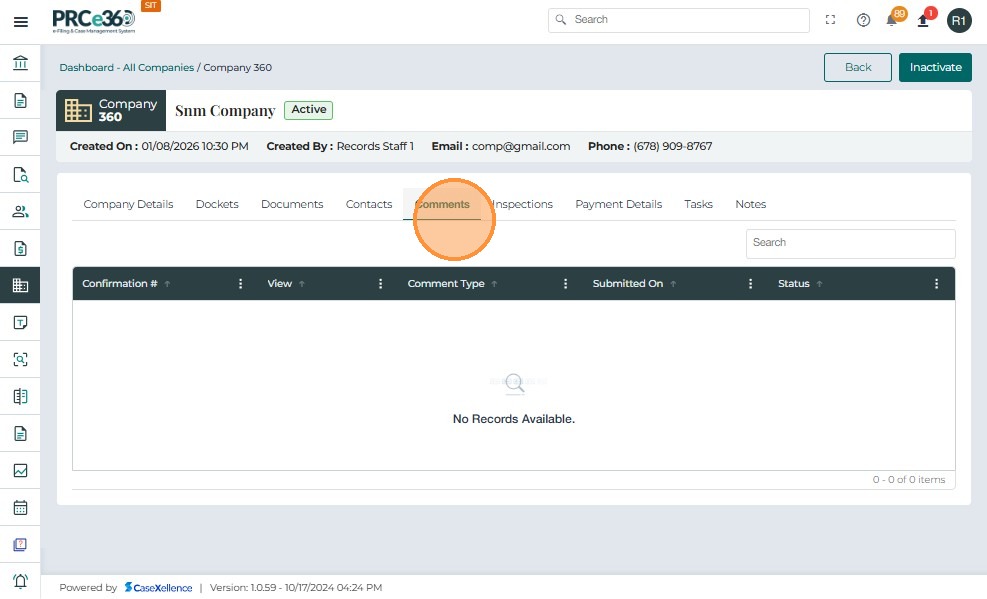
Comments Tab
-
The Comments tab will show any comments added related to the registered company.
-
The grid includes columns like:
- Confirmation # – A unique reference number assigned to the comment.
- Comment Type – The type/category of the comment.
- Submitted On – The date and time on which the comment was created.
- Status – Status of the comment.
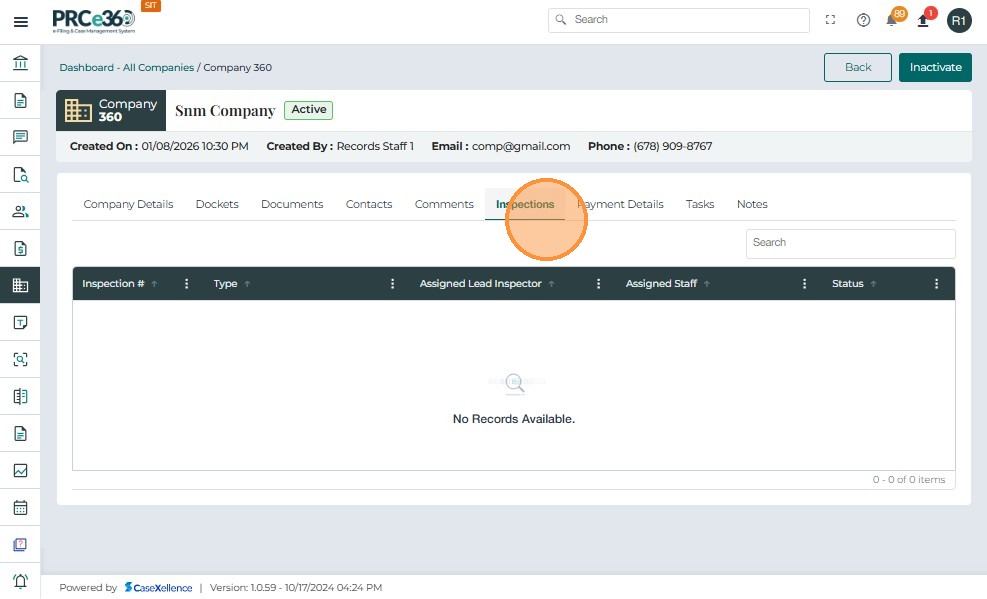
Inspections Tab
-
The Inspections tab will show details of any inspections related to the company
-
This grid includes columns like:
- Inspection # – A unique identification number given to the inspection.
- Type – The inspection type.
- Assigned Lead Inspector – The name of the person or role who is the assigned lead inspector.
- Assigned Staff – The name of the staff that has been assigned to this inspection.
- Status – The status of this inspection.
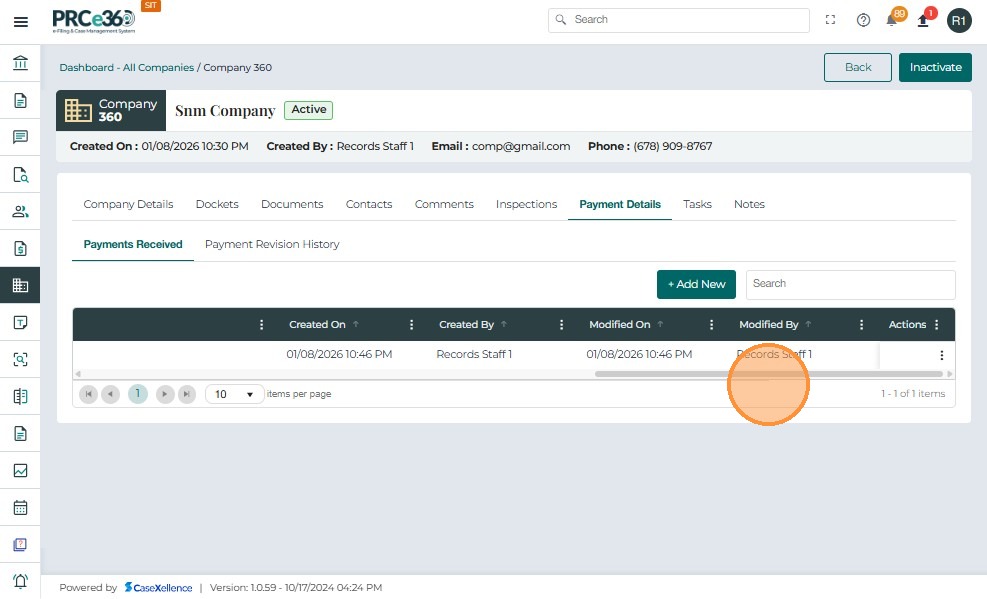
Payment Details
-
All internal users will be able to add payment information to a company. Once a payment has been entered, only the user who entered it or a user from the Records Division can edit that payment information.
-
There will be two subtabs:
- Payments Received tab
- Payments Revision History tab
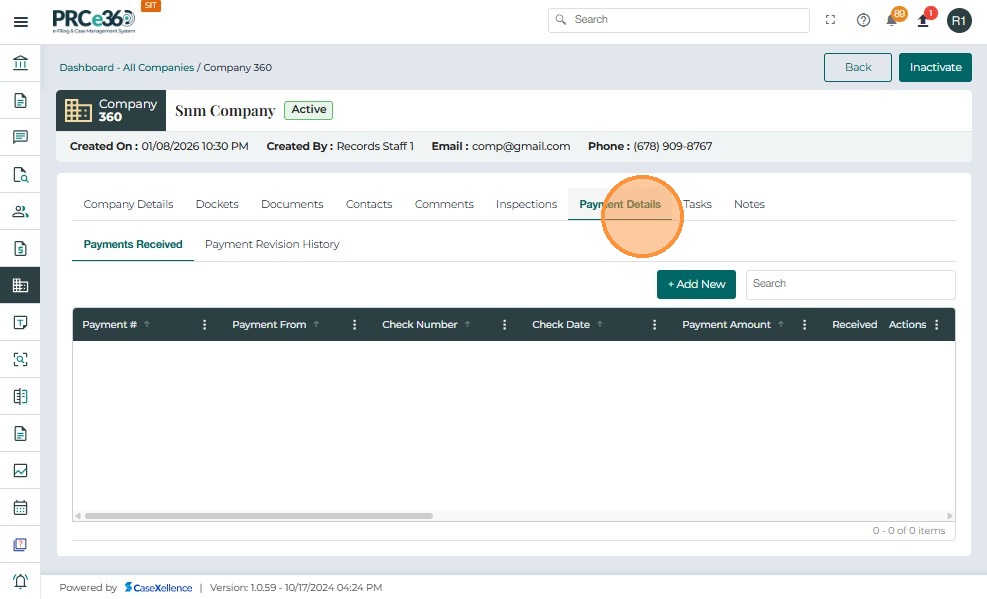
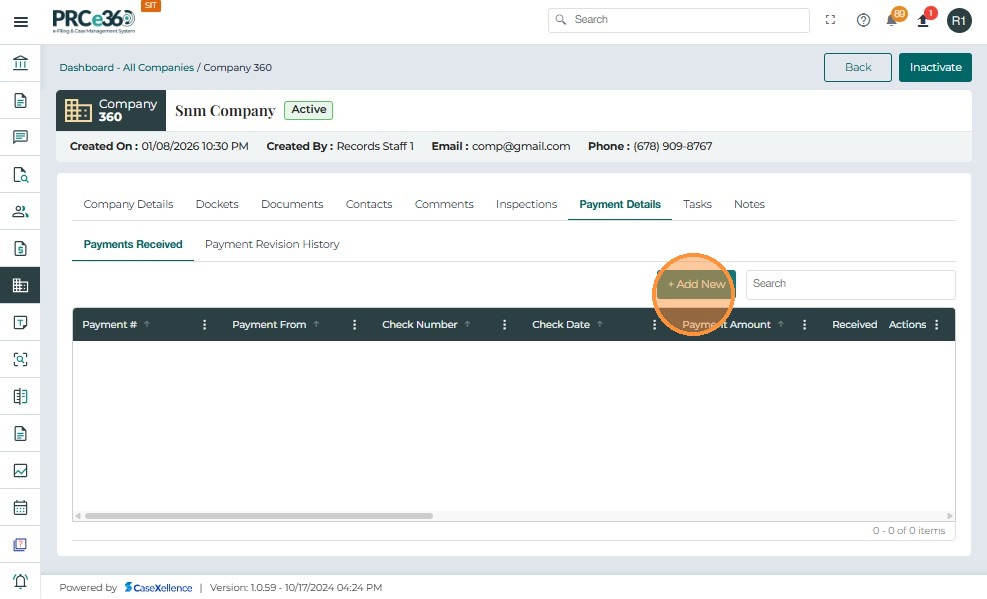
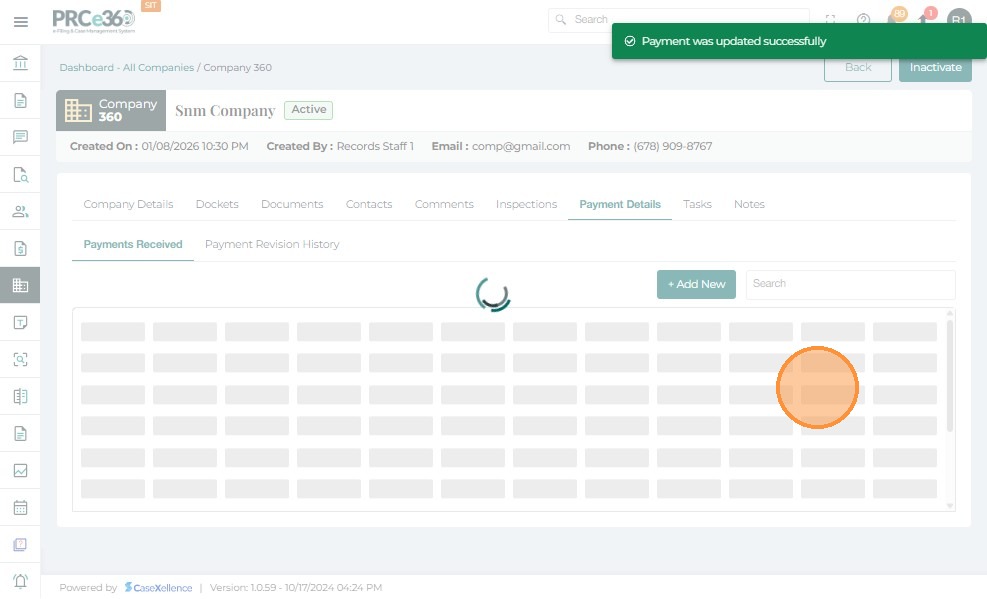
- The Payments Received tab will show all the payments received.
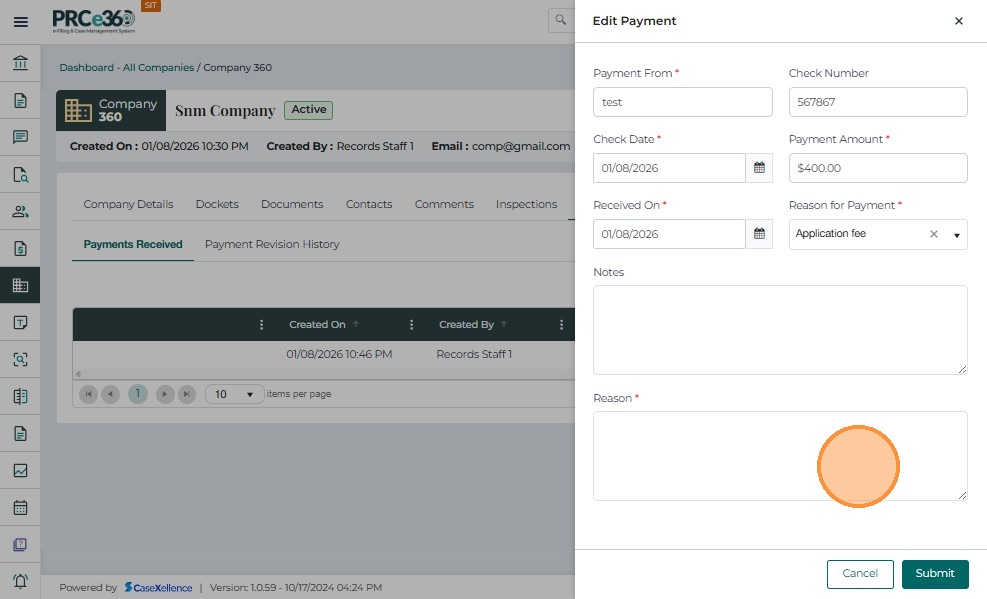
- The user can add new payments with the Add New button.
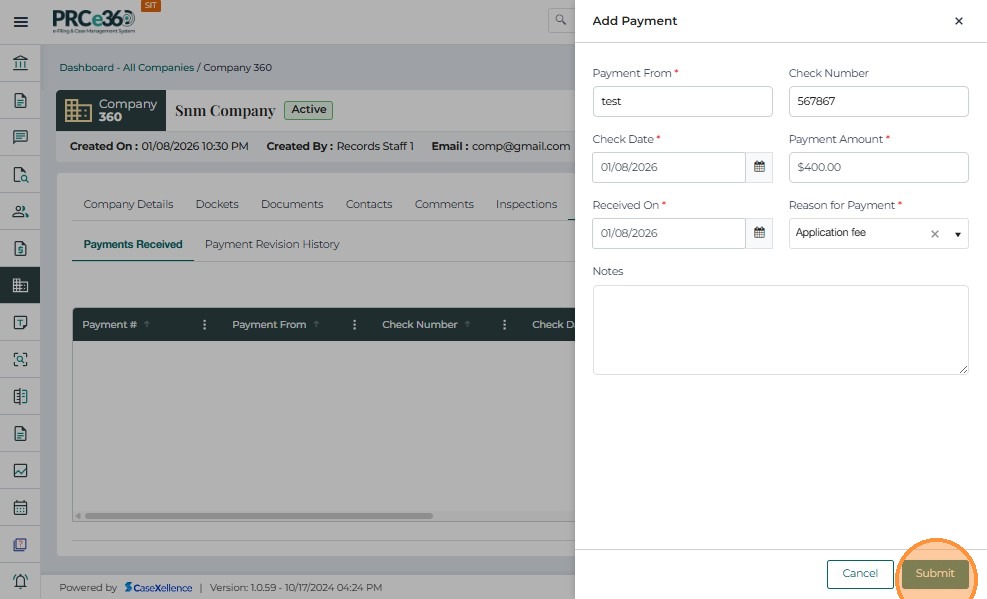
- Enter the details of the payment.
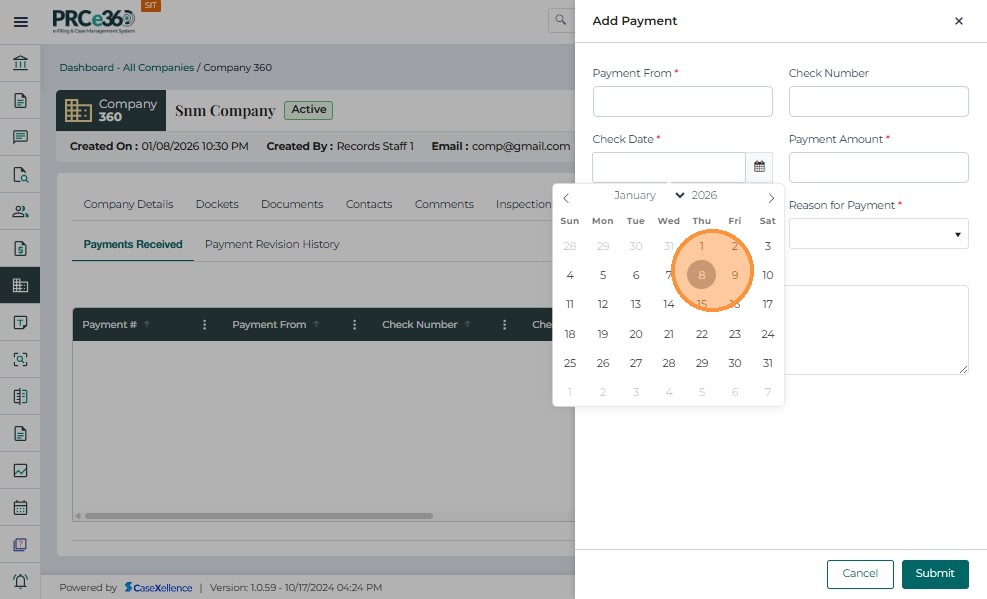
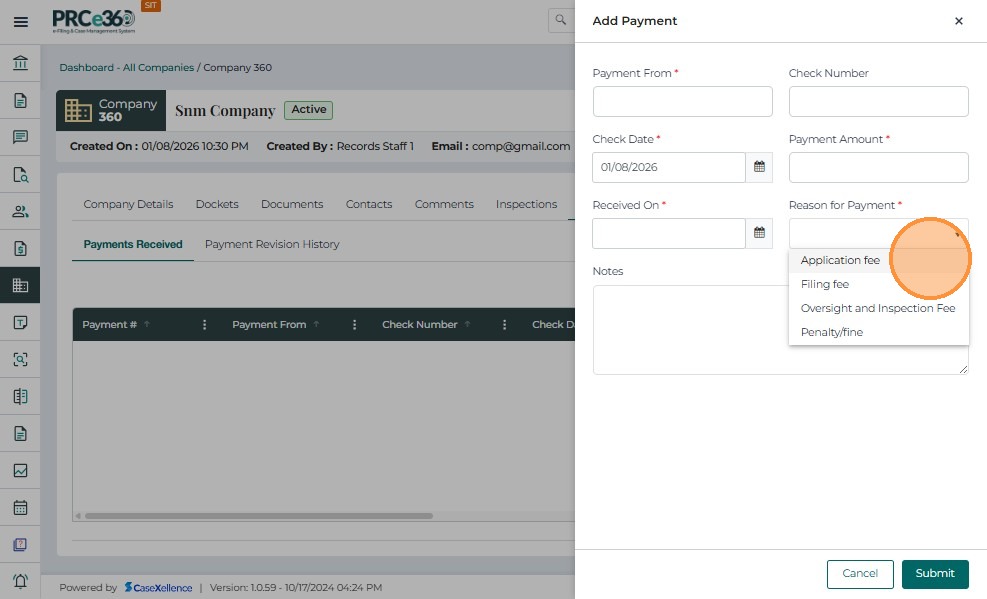
- Click on Submit once the necessary details are entered.
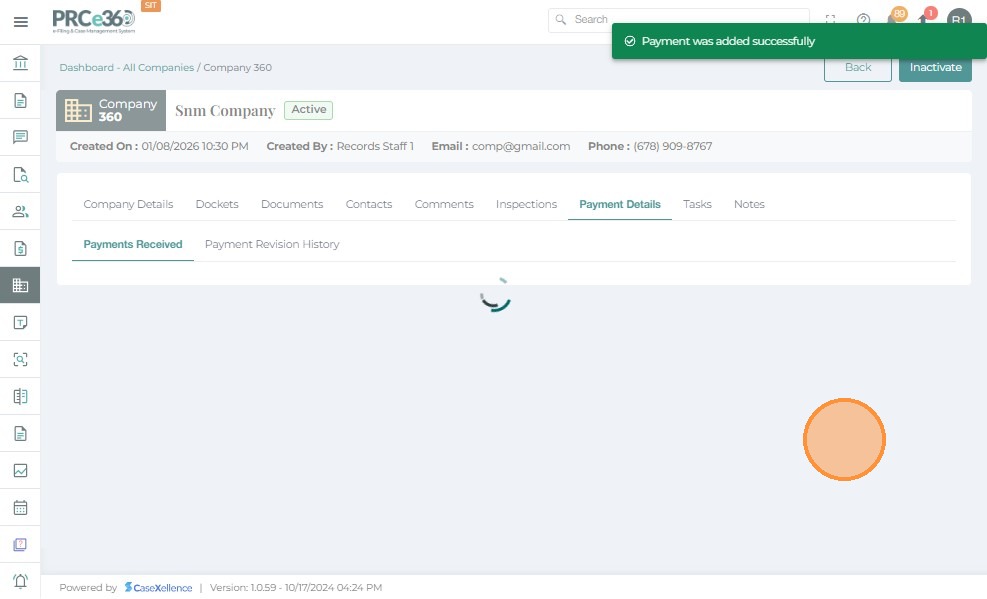
-
The newly added payment will listed below
-
The grid includes columns like:
- Payment # – A unique number given to the payment made.
- Payment From – The name of the person who made the payment.
- Check Number – The check number of the payment made.
- Payment Amount – The amount paid.
- Received On – The date and time when the payment was received.
- Notes – Any notes that are attached to this payment.

- In Actions, click on Edit to edit the details of that payment.
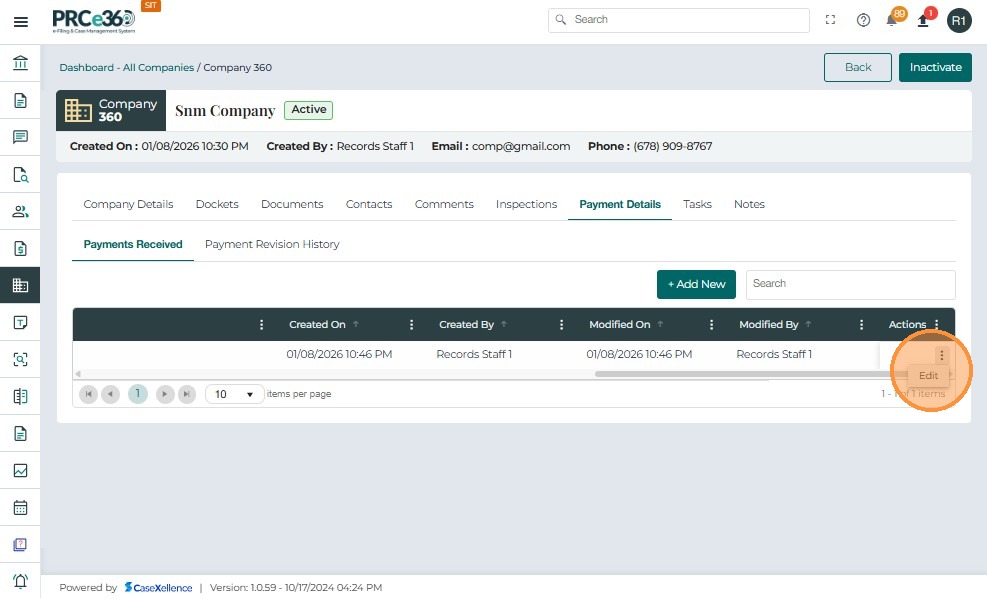
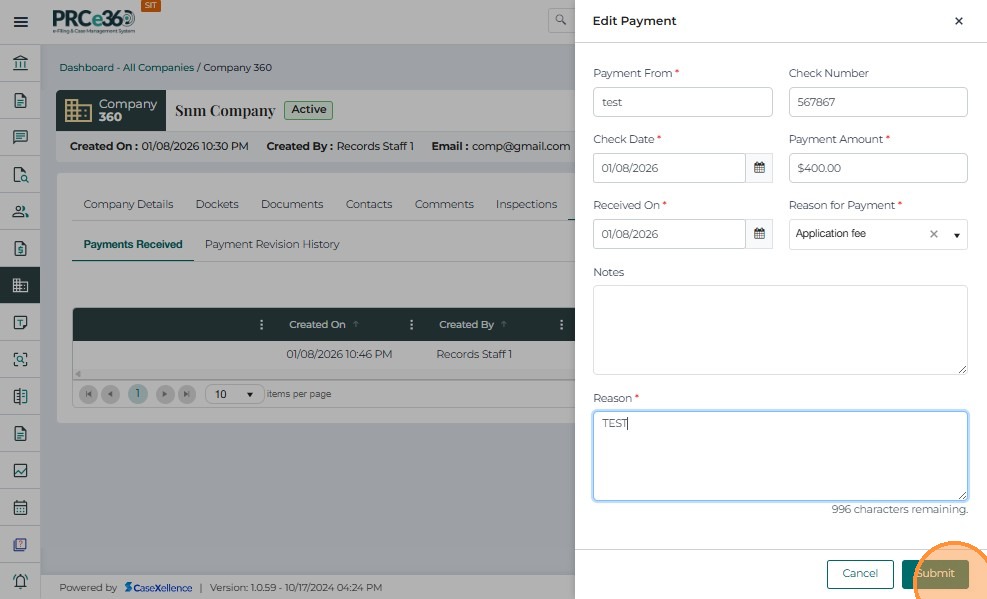
- Click on Submit to save the new changes.
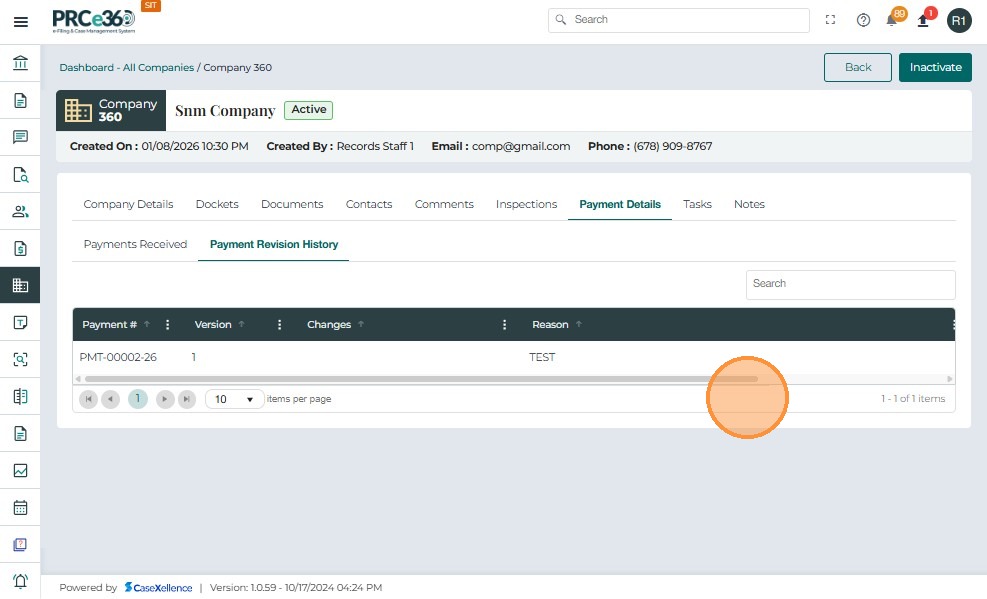
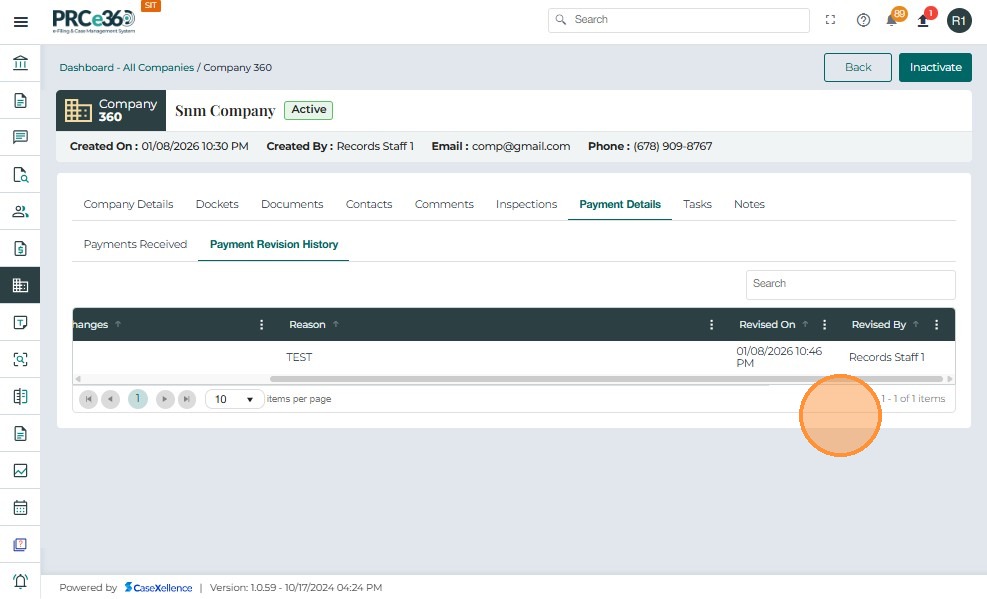
- Click on the Payment Revision History tab:
- This will show the history of payments made.
- The payments updated in the Payments Received tab will be listed here.
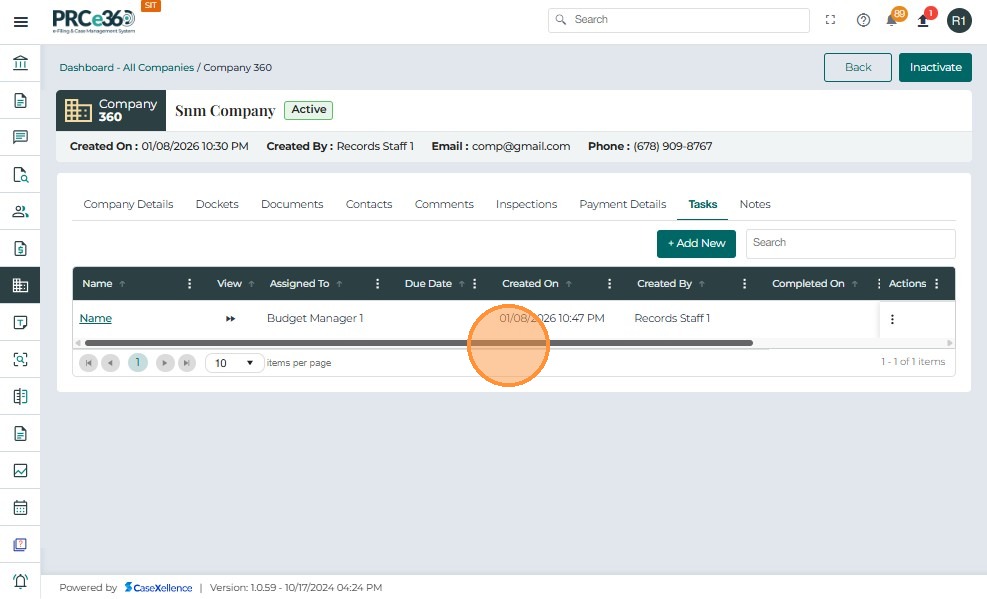
Tasks Tab
-
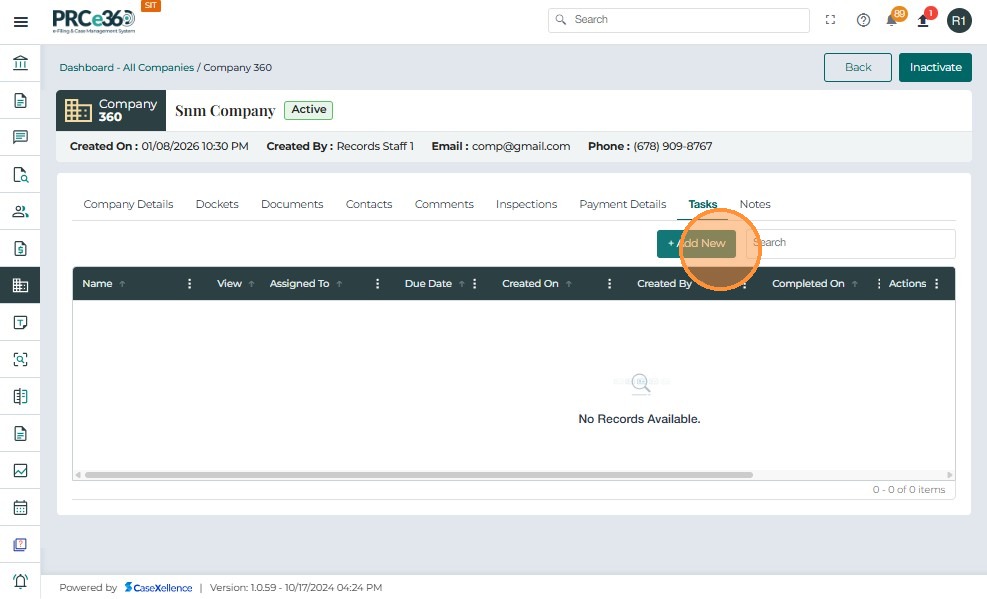
The Tasks tab will show any tasks related to the registered company.
-
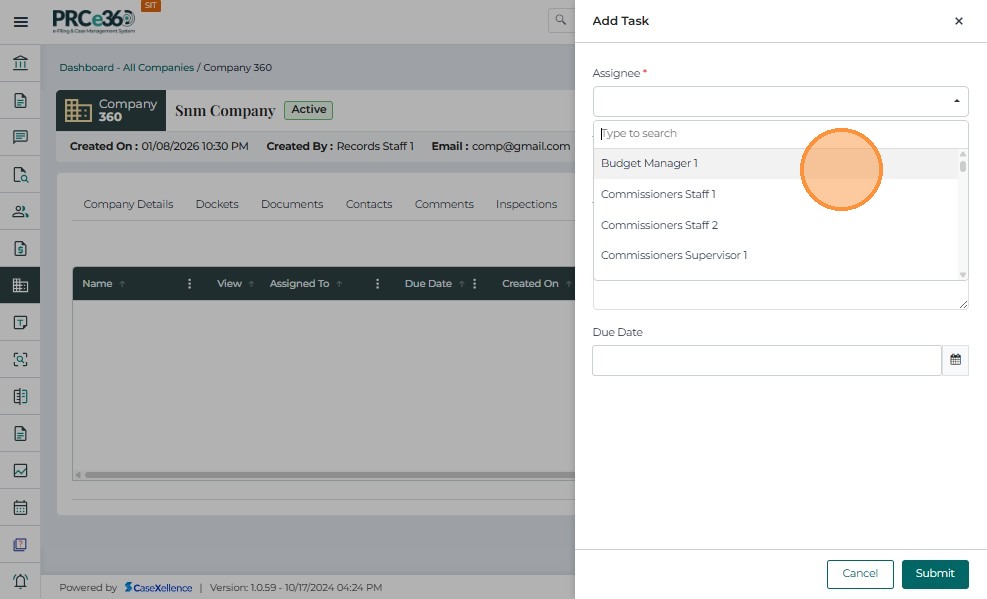
To add a new task, click on the + Add New button.
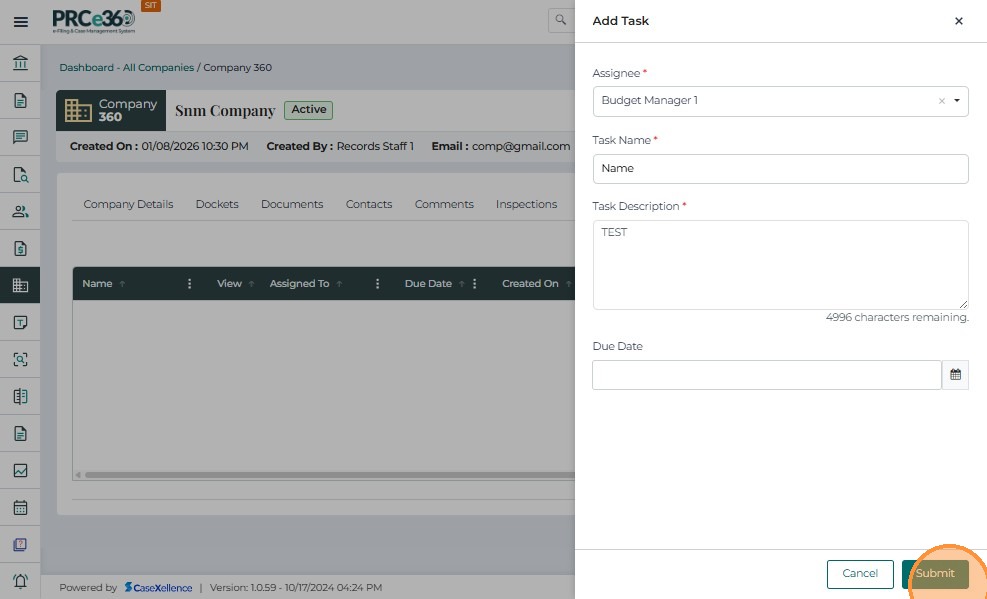
- A side popup will appear to add the details.
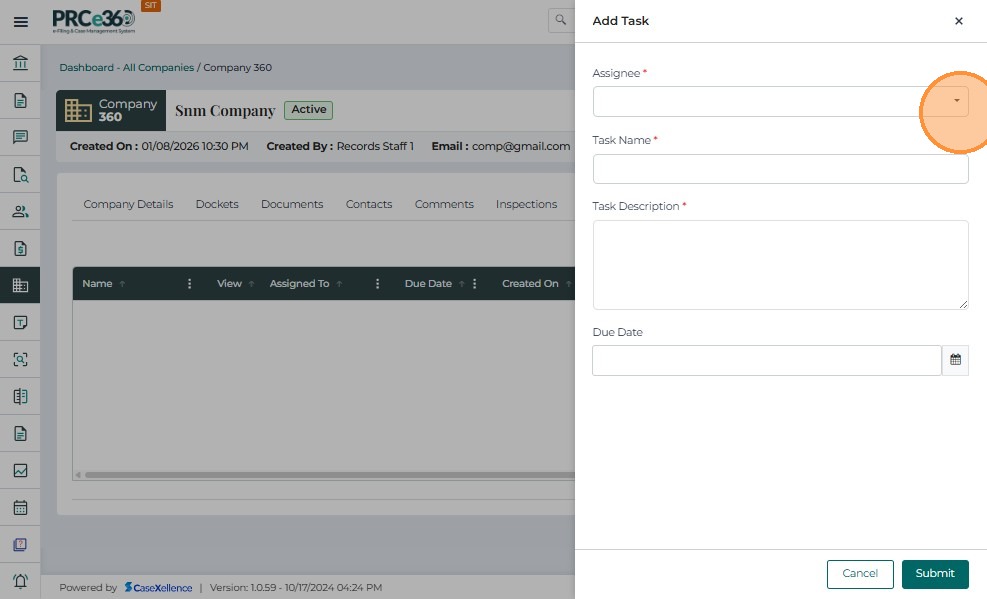
- Click on Submit to add the task.
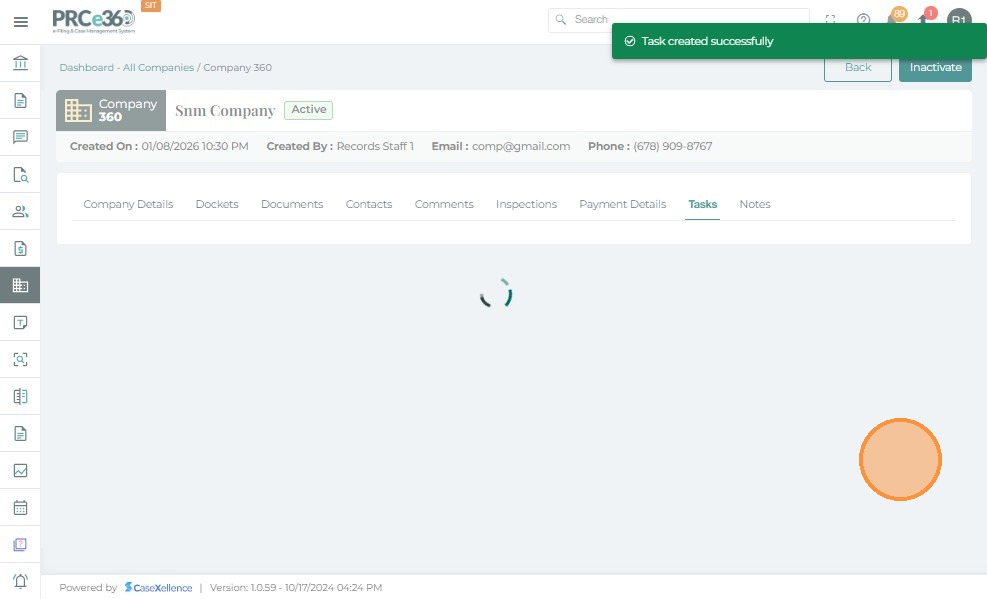
-
The task will be listed below
-
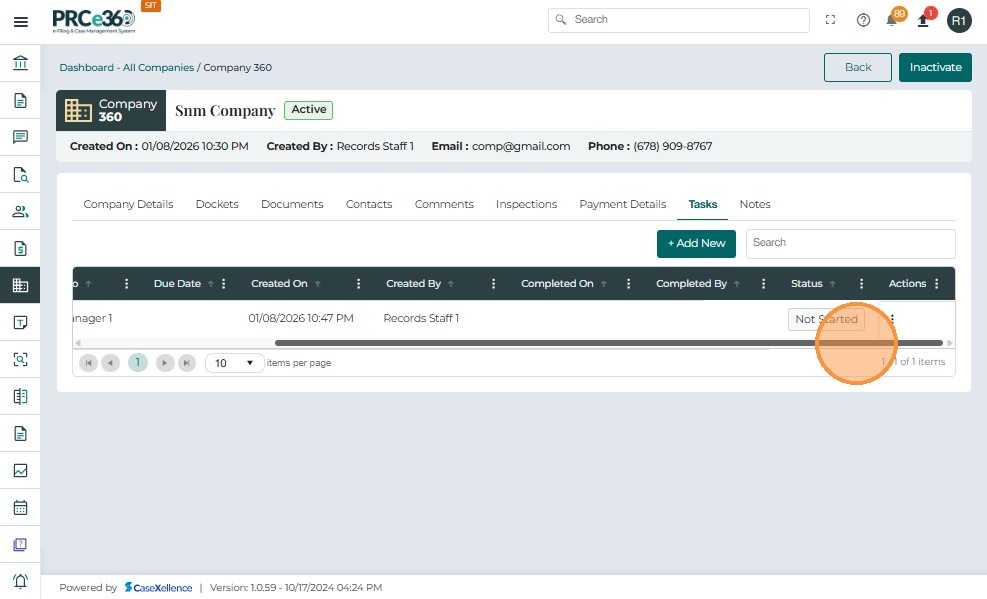
The grid includes columns like:
- Name – The name of the task.
- Assigned To – The name of the person or role that was assigned the task.
- Due Date – The date and time when the task is due.
- Created On – The date and time when the task was created.
- Created By – The person or role that created the task.
- Completed On – The date and time when this task was completed.
- Completed By – The name of the person or role that completed the task.
- Status – Status of this task (Not Started/Completed).
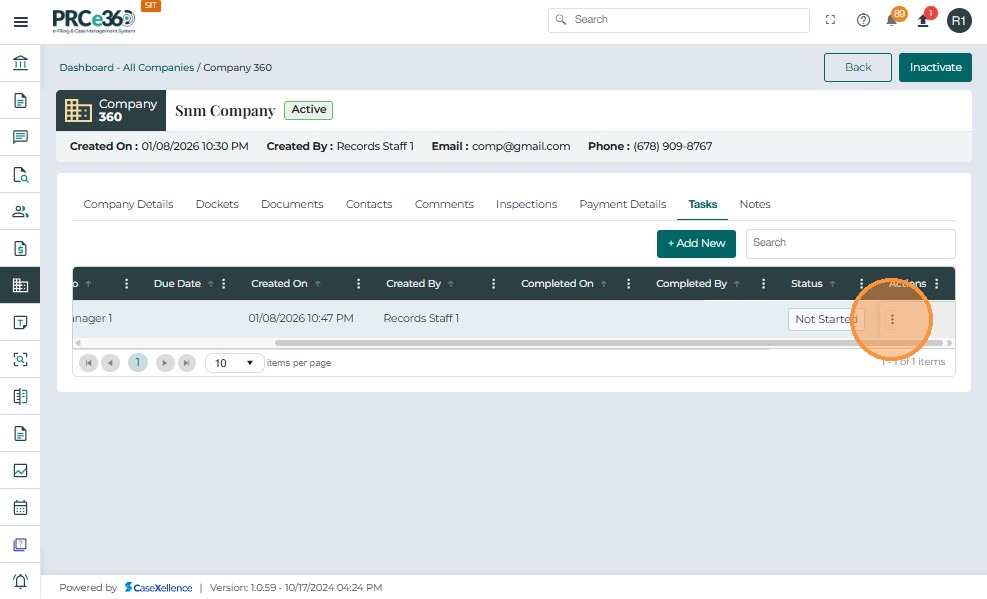
- Actions – Provides a dropdown menu with available management options for the task.
- The Actions button (three vertical dots) provides multiple management options:
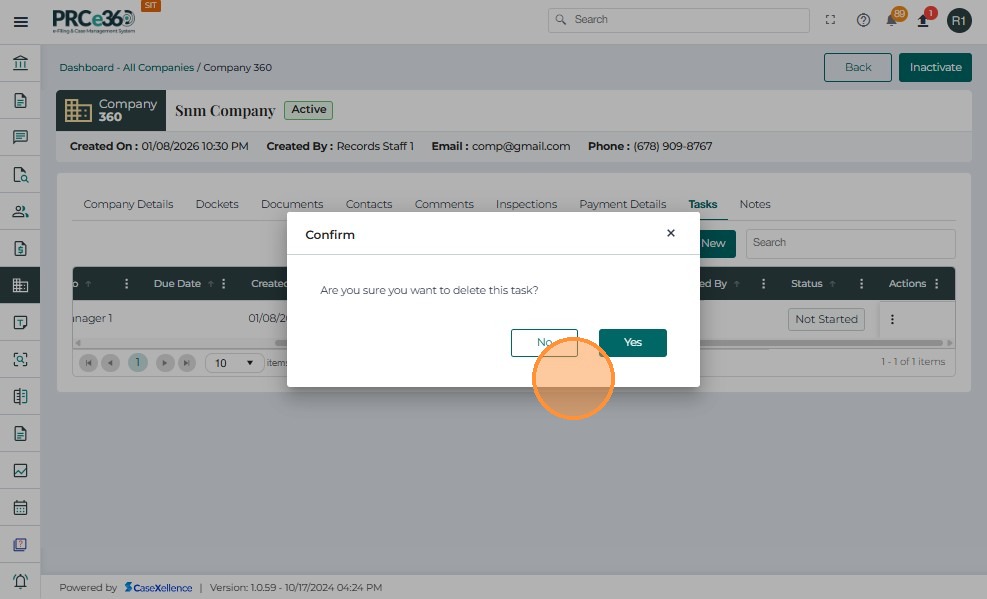
- Delete – Delete the task from the company.

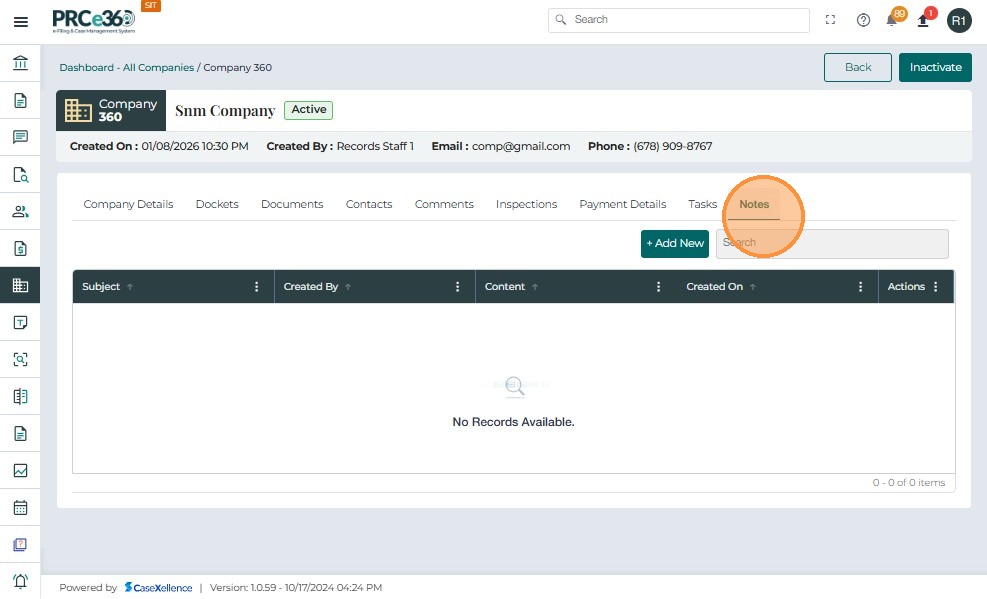
Notes Tab
- The Notes tab will show any notes that were added related to the registered company.
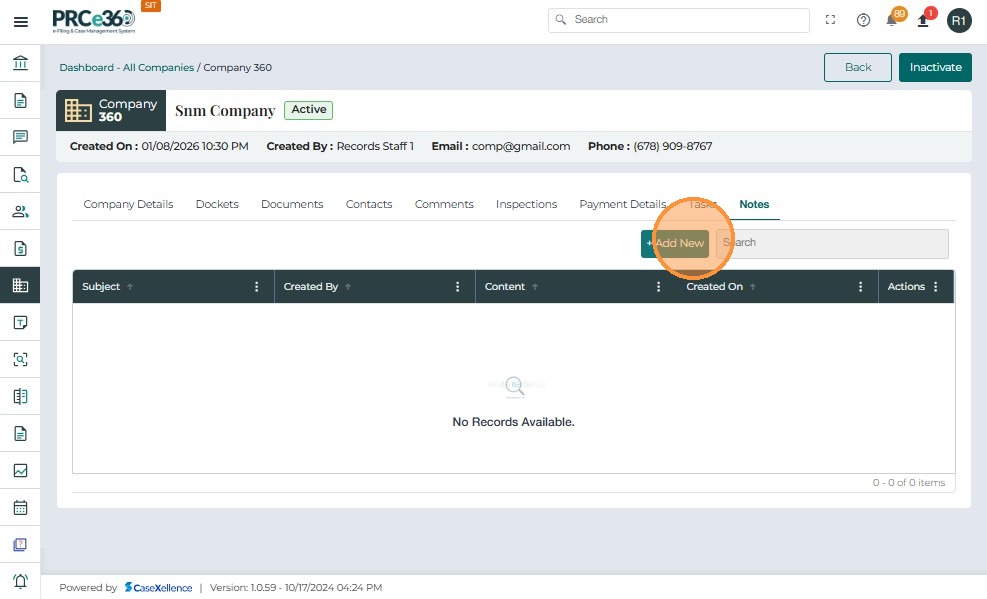
- To add new notes, click on the + Add New button.
- Add the details of the note.
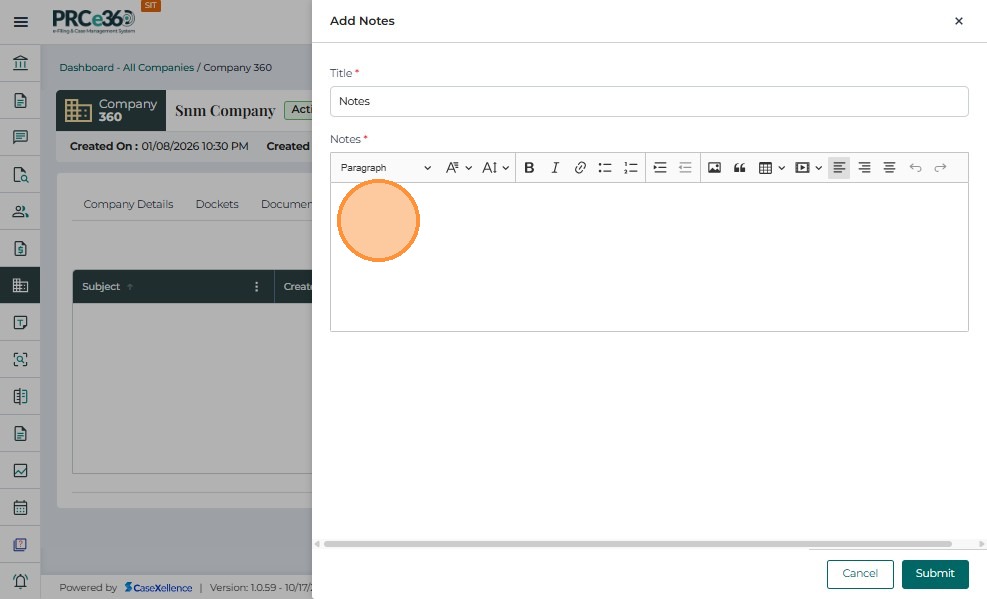
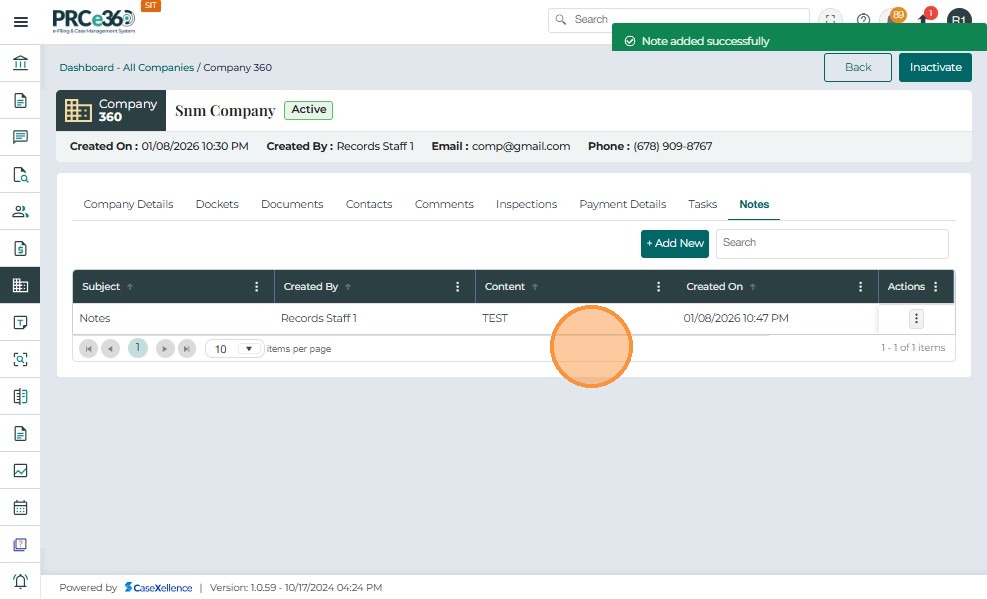
- Click on Submit to save the note.
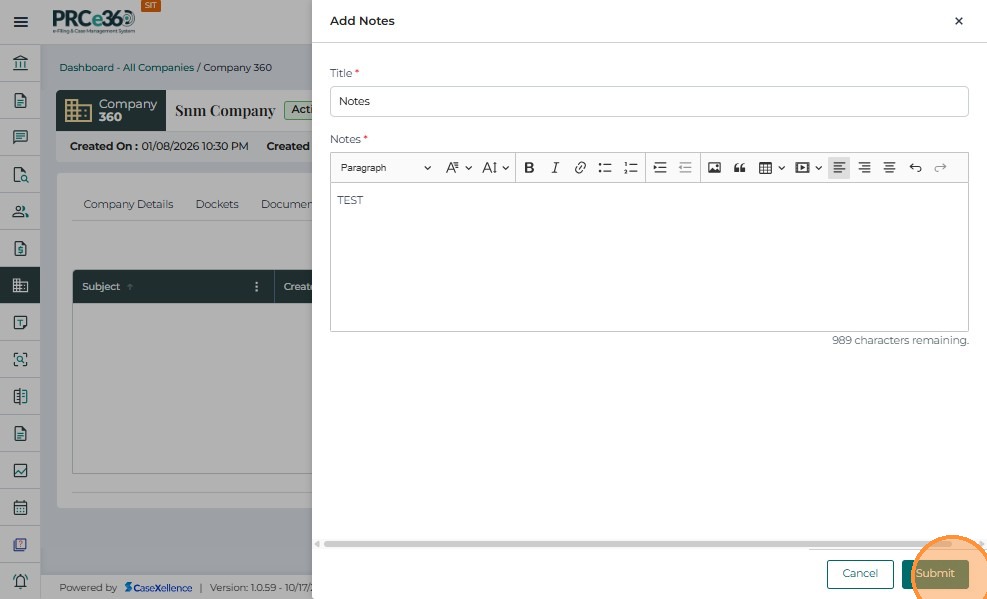

-
The note will be listed below
-
The grid includes columns like
- Subject - The subject of the note
- Created By - The name of the role or user that created the note
- Content - The content of the note
- Created On - The date and time when the note was created
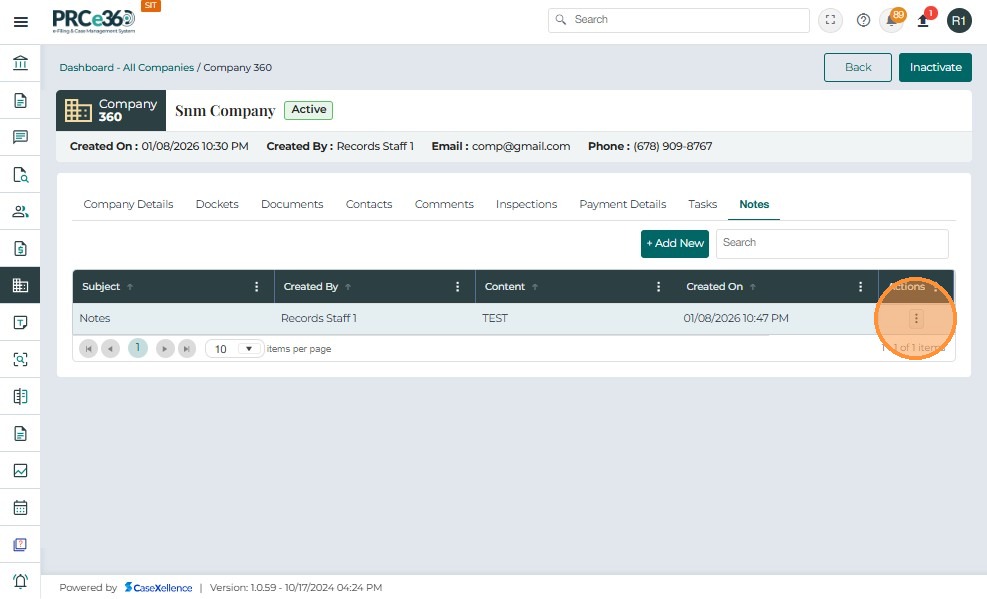
- Actions – Provides a dropdown menu with available management options for the note
- The Actions button (three vertical dots) provides multiple management options:
- View – View the note details


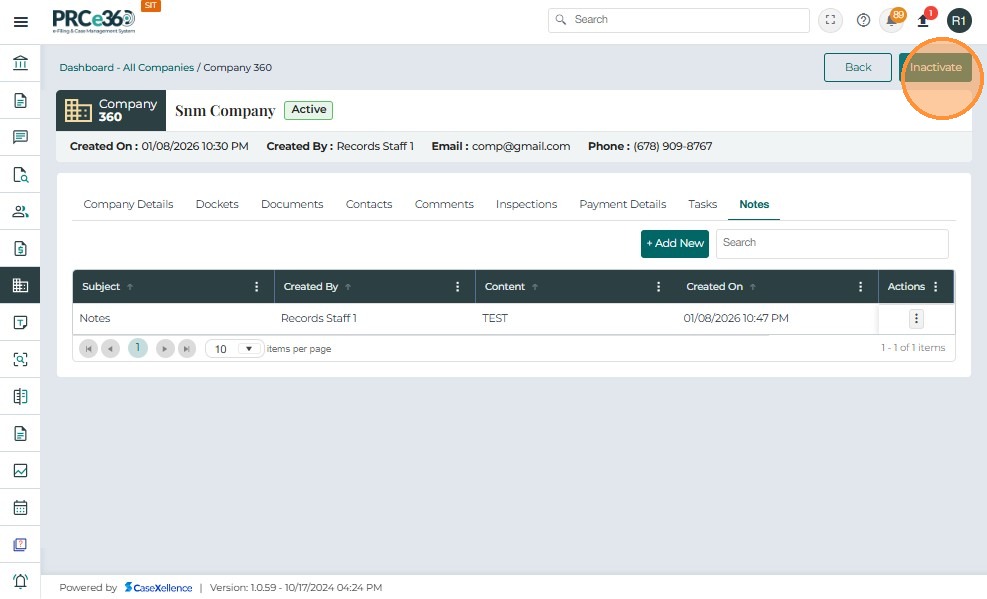
Status of the Company
- The Records Division will be able to change the status of the company.
- To change the company status to Inactive, click on the Inactive button on the top right.
- A popup message will appear to confirm the status change of the company.
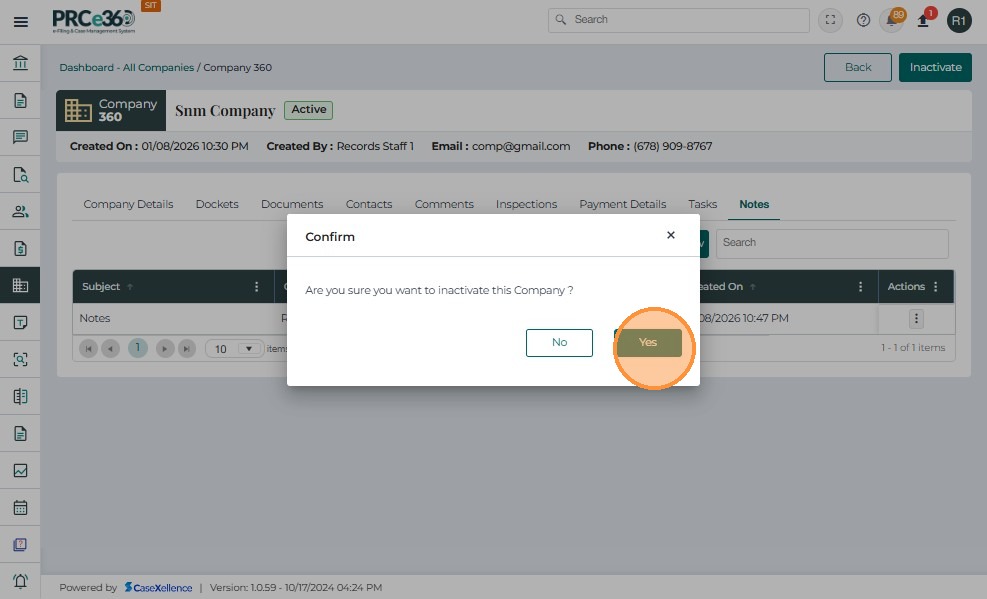
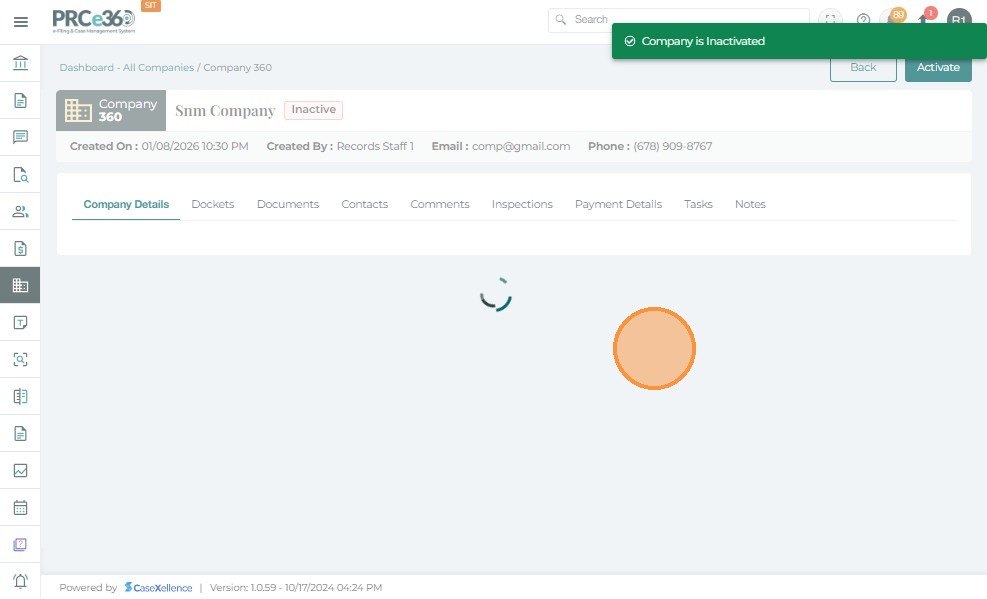
- Once confirmed, the status will change to Inactive.

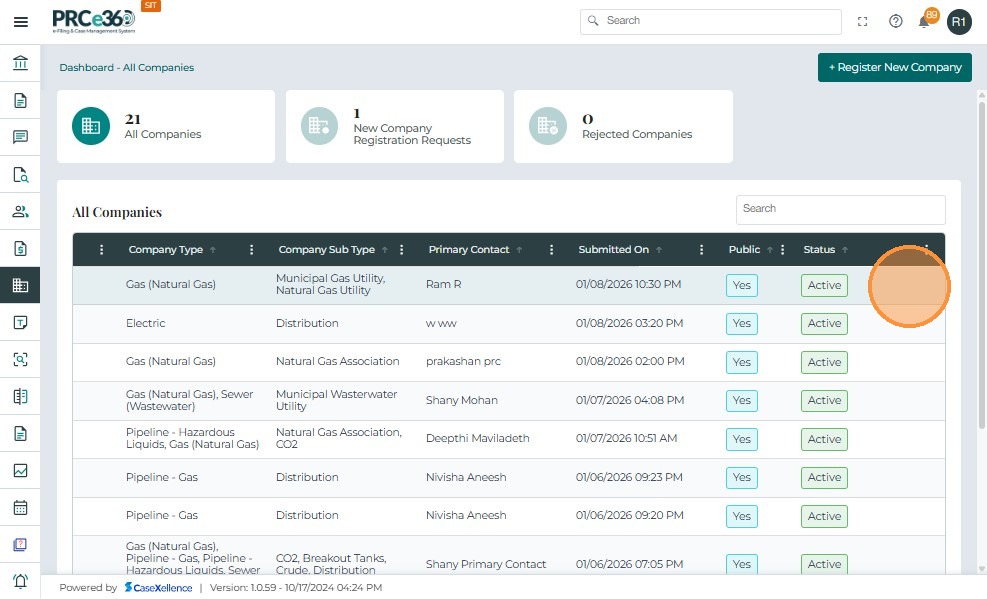
- This can also be viewed in the All Companies queue.
- The Status column will show whether the registered company is Active or Inactive.